
Newcomb Pottery was created by students at Newcomb College in New Orleans, Louisiana where they created utilitarian objects made of clay, metal, and textiles decorated with images of native plants. What does utilitarian mean? Well, utilitarian means that it can be used daily. What are some objects that we use daily in the kitchen—What kind of characteristics do things need to have if they are used daily?
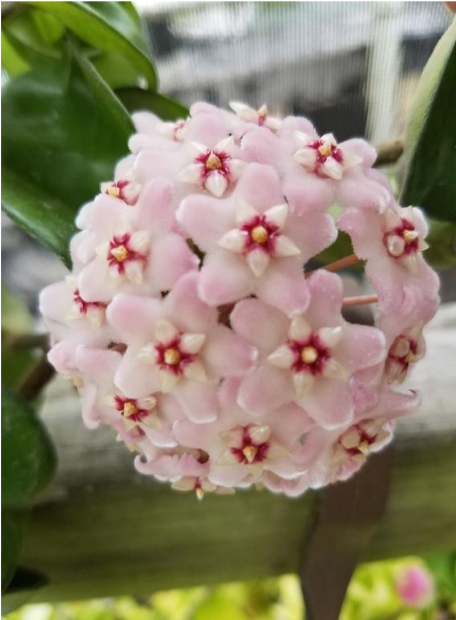
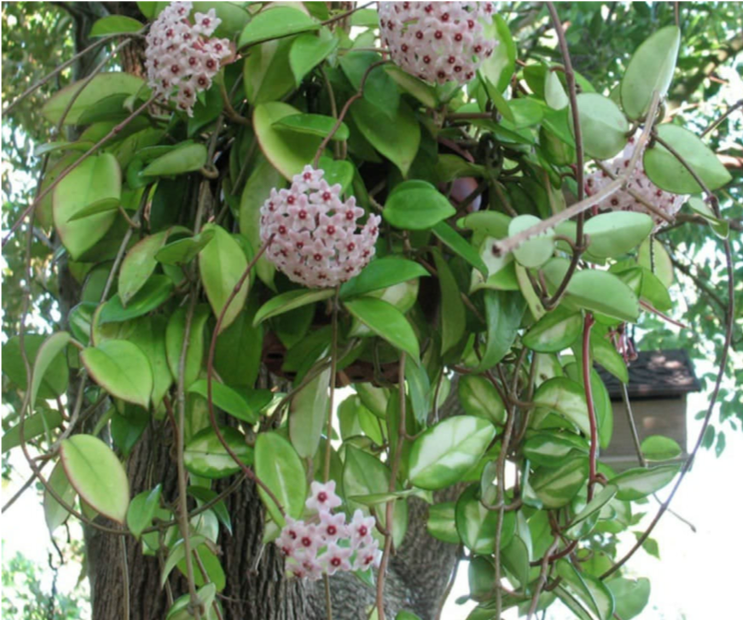
Newcomb artists used Louisiana plants and flowers as inspiration for their designs. The designs were stylized which means the artists simplified the plants, focusing on color, shape, and line. In the cup and saucer below, the artist was looking at Hoya Kerri, which is a type of tropical wax flower.
Our pottery in the museum needs to be handled carefully and since we want to preserve it, we aren’t drinking tea out of the mugs or eating PB&J sandwiches off the plates anymore. The pots are utilitarian in a different way now— we can use them to think about patterns, or how they were made, or why they were made—They can teach artists new techniques and designers can pull inspiration from their shapes, colors, and parts. Grab a mug or a bowl from your cabinet and follow along.

IMAGE: Mary Teresa Ryan (American, 1880-1946) Henrietta Davidson Bailey (American, 1874-1950) Joseph Fortune Meyer (Franco-American, 1848-1931), potter, Cup and Saucer (one of set of two), c. 1906-1911, High glaze pottery, Gift of the Friends of LSU Museum of Art, 87.6.2 a & b
First, we will look at this Newcomb teacup and saucer (pictured above):
• What do we think this is made of and why?
• When do you think this was made and why
• What kind of colors were used in this tea set— are those warm or cool colors?
• Describe the patterns you see on the mug
• What do you think inspired the craftsperson who created the patterns?
• Let's look at the surface—describe the texture of the mug—use at least 4 descriptive words.
• How would you use this object/when/what would you put in it?
• What sort of tools were used?

Now, grab a mug or a plate from your kitchen.
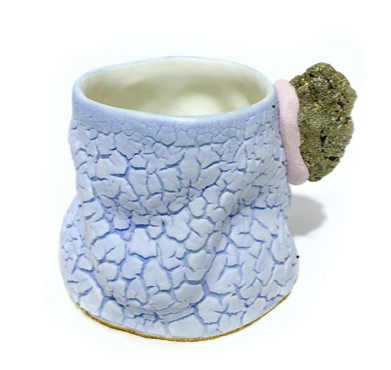
I am going to look at this unique mug made by Brent Pafford, an artist from Colorado (pictured above). What does your plate or cup look like? Looking carefully at your object, let’s answer the same questions we did earlier.
•I think that this is made of clay, because Brent is a potter and potters usually use clay. But he also has other things like glitter and this salt rock.
•I think it was made pretty recently—It looks new and isn’t really old or worn down looking. My friend Samantha gave it to me as a present.
•There are a couple of colors—The mug is white in the background with light blue/dark blue flecks. There is a rock that looks like gold as a handle and there is a light pink ‘glue’. The bottom is a gold glitter. Mostly the pot is a blue and gold color scheme.
•Brent didn’t use any designs, but the textures make a random pattern.
•I think nature and science inspired Brent— The texture feels like moss growing on a rock. But it is also very fun like a party—the colors are neat, the fool’s gold rock handle is unique, and the glitter is a surprise.
•Rough, Smooth, Shiny, Crackled.
•I use this cup on special occasions—it’s not my everyday coffee cup. I do have it where I can see it everyday though in the cabinet.
•I think Brent used a potter’s wheel because the cup is very symmetrical. Maybe he also used some brushes and knives to trim extra clay off or to smooth things out.
For this activity we are going to pretend to be virtual potters and then we will make our own pot based off of the virtual pot. If you have ever played the game ‘telephone’ it will be sort of like that. If you need more inspiration, head over to the LSU Museum of Art website and search our collection for more Newcomb Pottery— https://lsumoa.pastperfectonline.com
Part I: Let’s Make a Virtual Pot
Supplies:
pottery.ly app ( Free on the Apple store)
Smartphone or tablet
Air dry clay, play dough, or salt dough
Markers/paint
Tools to make textures ( sticks, plastic knives, etc)
Small dish of water
A towel
Fork
Cardboard
Steps:
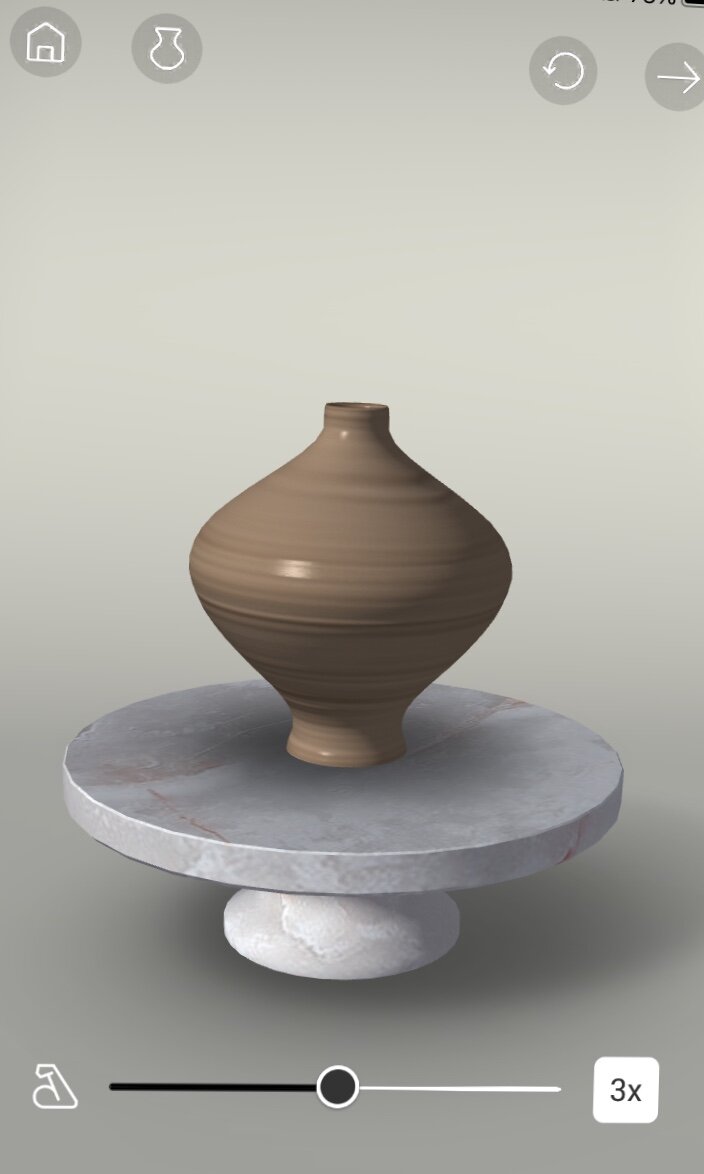
First have a parent help you download the app potter.ly.
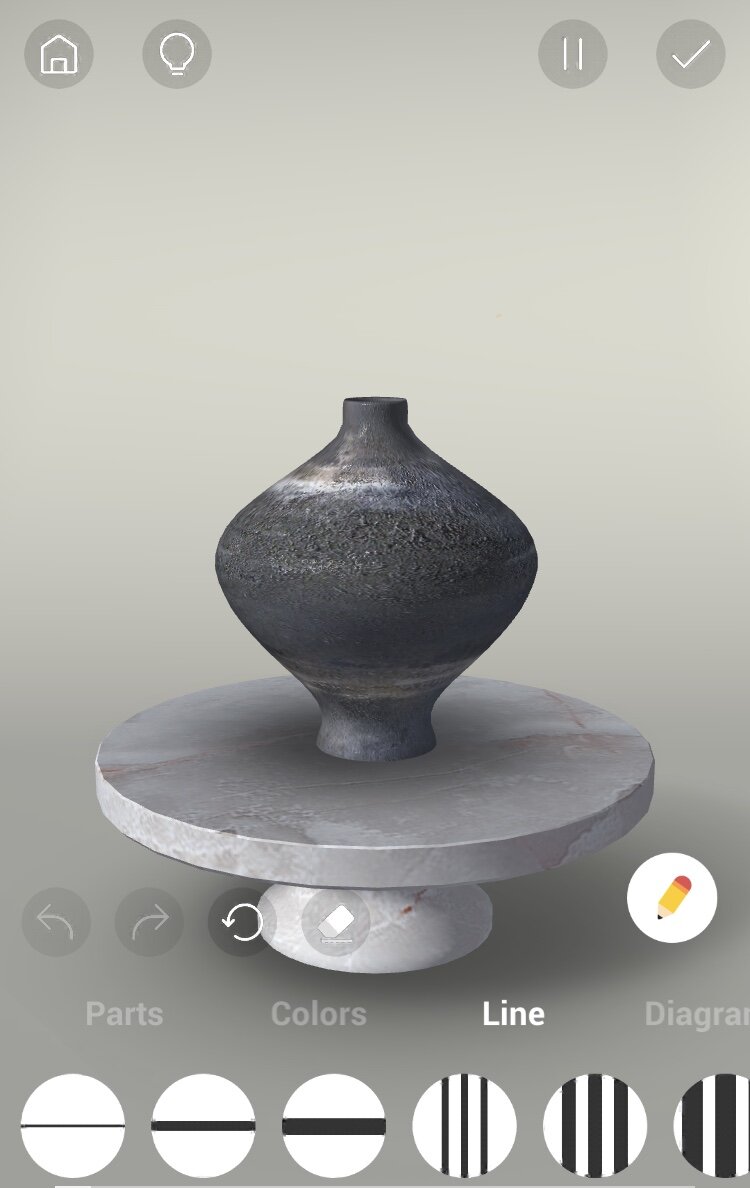
Once that has finished downloading, click the (+) symbol. You are now ready to start throwing on the wheel. Potters use this tool to make pots. The wheel spins and you are able to center the clay and use your hands to ‘throw it into a shape. On the app you can start with the cylinder or choose from a pre-shape to change. Use your fingers and press down and up on the screen to make your pot taller, down and out to make it wider, or down and in for it to be narrower.
As you are making your virtual pot, think about what it might be used for or who might use the pot.
Once you are finished, click the right arrow in the right, top corner.
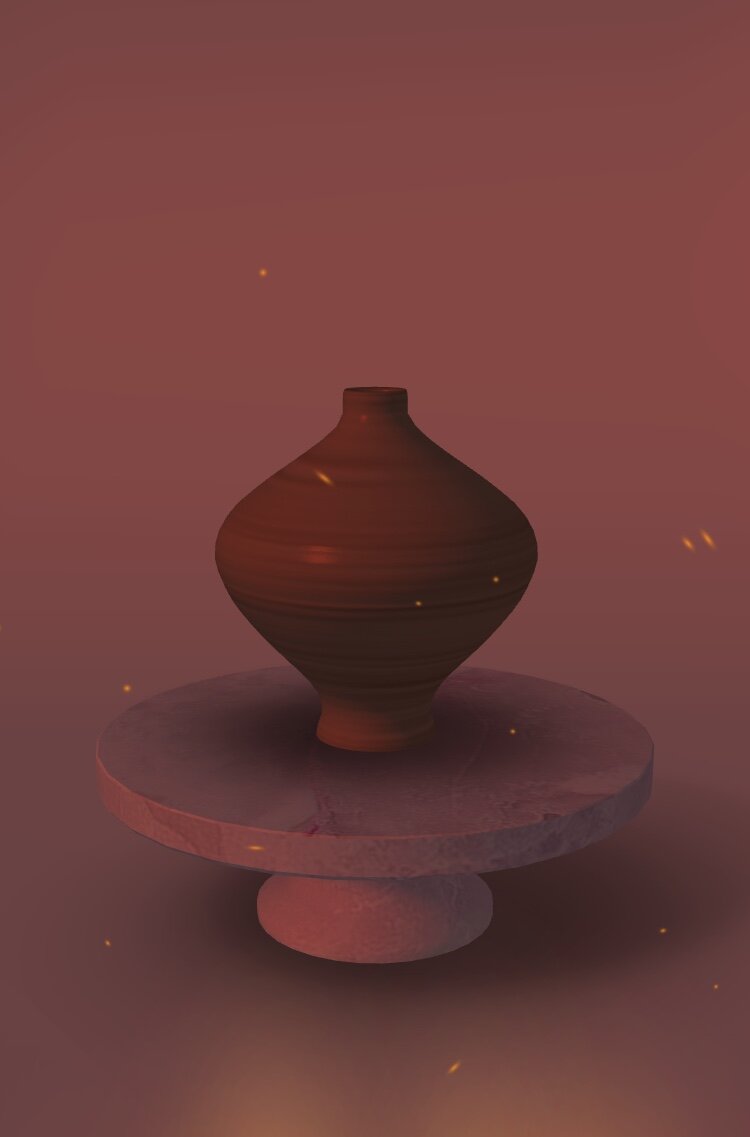
Now you are firing your pot. When a potter fires their pot, they have to wait until it’s completely dry. Then they will put the pots in something called a kiln which is a bit like a large oven. The pot in real life will be fired twice—once in a bisque which is changes the clay from stretchy to something that is ceramic and hard. After the bisque, the potter will apply designs and glaze and fire it again. When the pot comes out, it is glossy and ready to use. Pick your pot’s surface and click the flame .
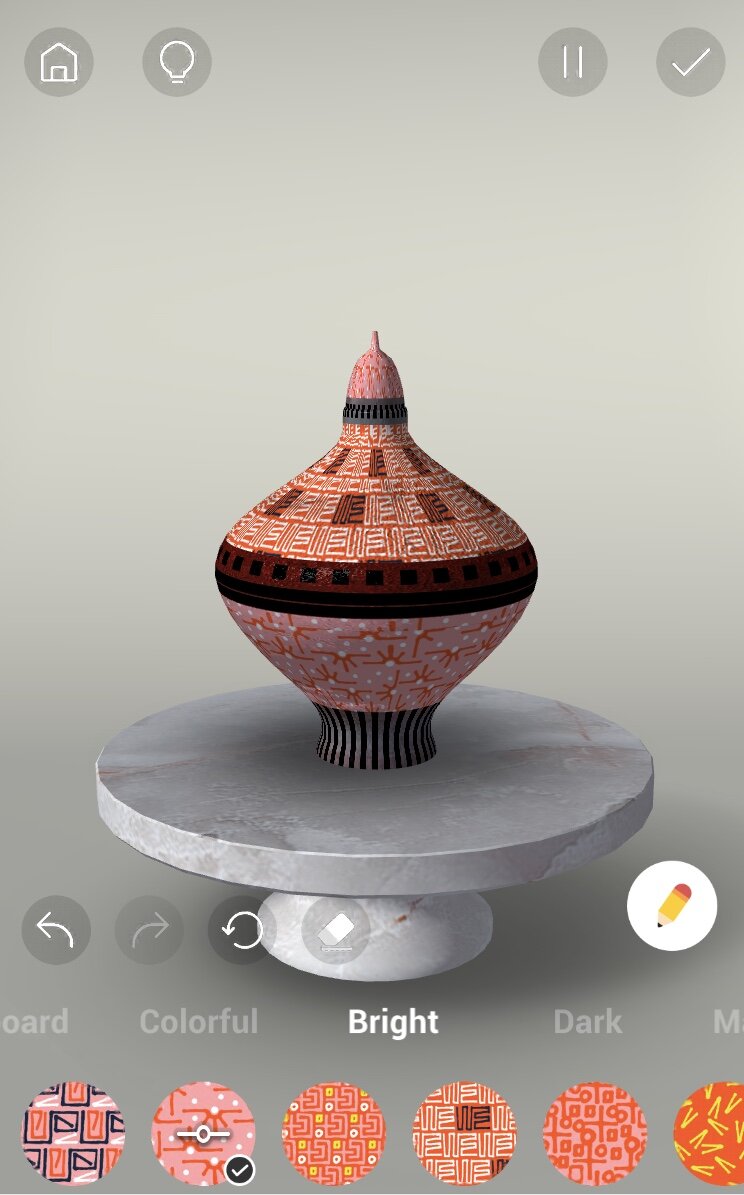
Now that your pot is out of the kiln, it’s time to decorate—Add parts like handles, or lids and select lines, designs and colors. Think about what sort of colors and styles you like. Click the arrow again when you are finished.
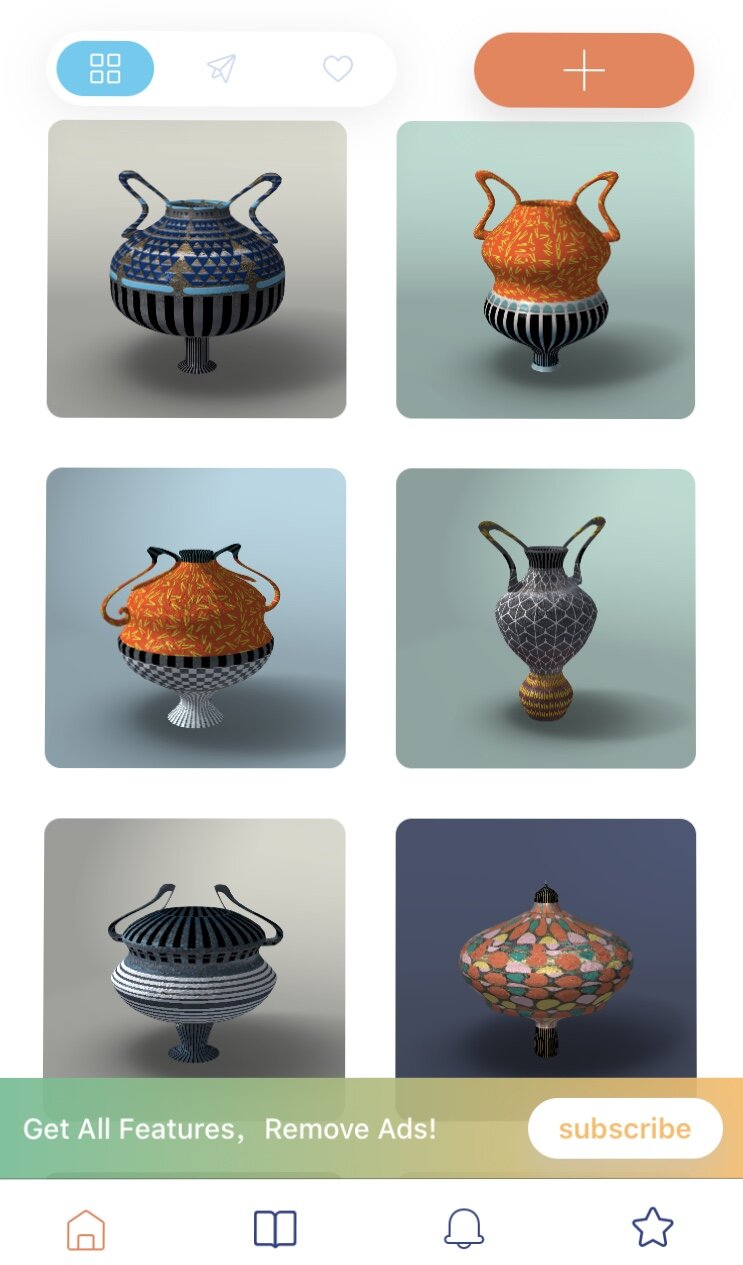
Select a background color and click the check mark! Your image will now be saved—Keep making them until you have your own virtual pottery collection.
Part II: Let’s Make Our Own Real Pot


Look carefully at the virtual pot you created. Let’s grab a piece of paper and sketch out our idea based on the virtual pot. Think about what colors you need or how big you want to make it.
Take a piece of clay and cardboard. Put the cardboard down on the table. Roll the clay in your hands to make a log. Put the clay down on the cardboard and using your hands, roll the clay so that it looks like a long log or snake. Make several of these.
Take one and start coiling it together to make the bottom. When you want to attach two pieces of clay make sure to use a fork to ‘scratch’ the clay and then use a tiny amount of water (just dip your finger) and stick the clay together. Keep adding coils as you go up, but pay attention to the shape of your pot. You can also add pinch clay to help build your pot. Take a piece of clay and roll into ball with your hands. In the center, stick your thumb inside to make a hole—but don’t go all the way through. With your thumbs and fingers, pinch carefully, rotating the ball. It will start to look like a bowl.
Once you have gotten the shape finished, go back and smooth the outside and inside with your finger. Now you can adjust a little bit by pushing it from the inside to make it wider, or squeezing from the outside to make it narrower.
Now it’s time to decorate it. Add your handles or lids or draw any of your patterns on the outside with a pencil.
Follow the instructions on letting your pot dry—sometimes you can just let it dry overnight, some brands will want you to bake it in the oven.
When you wake up or after the pot has cooled down from the oven, add color and designs with markers and paint. When you are finished take a picture and send it to us and then put it on the shelf to admire!
Tag us with your final product!
Tag us @lsumoa on social media with your creations to be featured on our stories!
Activity Written by LSU MOA Educator, Grant Benoit