Not everything can be stored on iCloud—Let’s make a book together! Before you say anything about that sounding complicated, just hear me out. Sure books can be complicated, but the book we are making today is really easy and you probably have all the supplies. But before we jump into the making—What is a book? What do books do? Those are both pretty easy questions, but let’s break it down and think about it through.
Think of all the things books can do.
Inform
Entertain
Educate
Maybe make us sad or happy or angry
Make us laugh
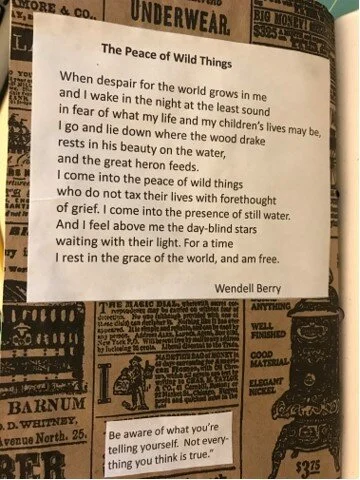
Do books all look the same? Of course not. Books come in all shapes and sizes. Some books were on long pieces of paper called scrolls. Some books have fancy covers made of leather. And some books were so important in the Middle Ages they were chained to the wall. Your book today will be important too (whether you chain it to the wall or not, that’s up to you) because 1. You made it with your hands and 2. It will be filled with your ideas and thoughts. Think of this book as an adventure journal: Things are weird right now for a lot of people and it might be a good idea to write or draw your feelings or even collect things to remind you of this time.
This journal can be made by a variety of ages by just changing the materials slightly. Maybe an older bookbinder might want to swap the construction paper for watercolor scrap paper or their paper of choice—Maybe the entire family plans to make one—Keep the journals and pull them out in a few years to remember the times spent together.
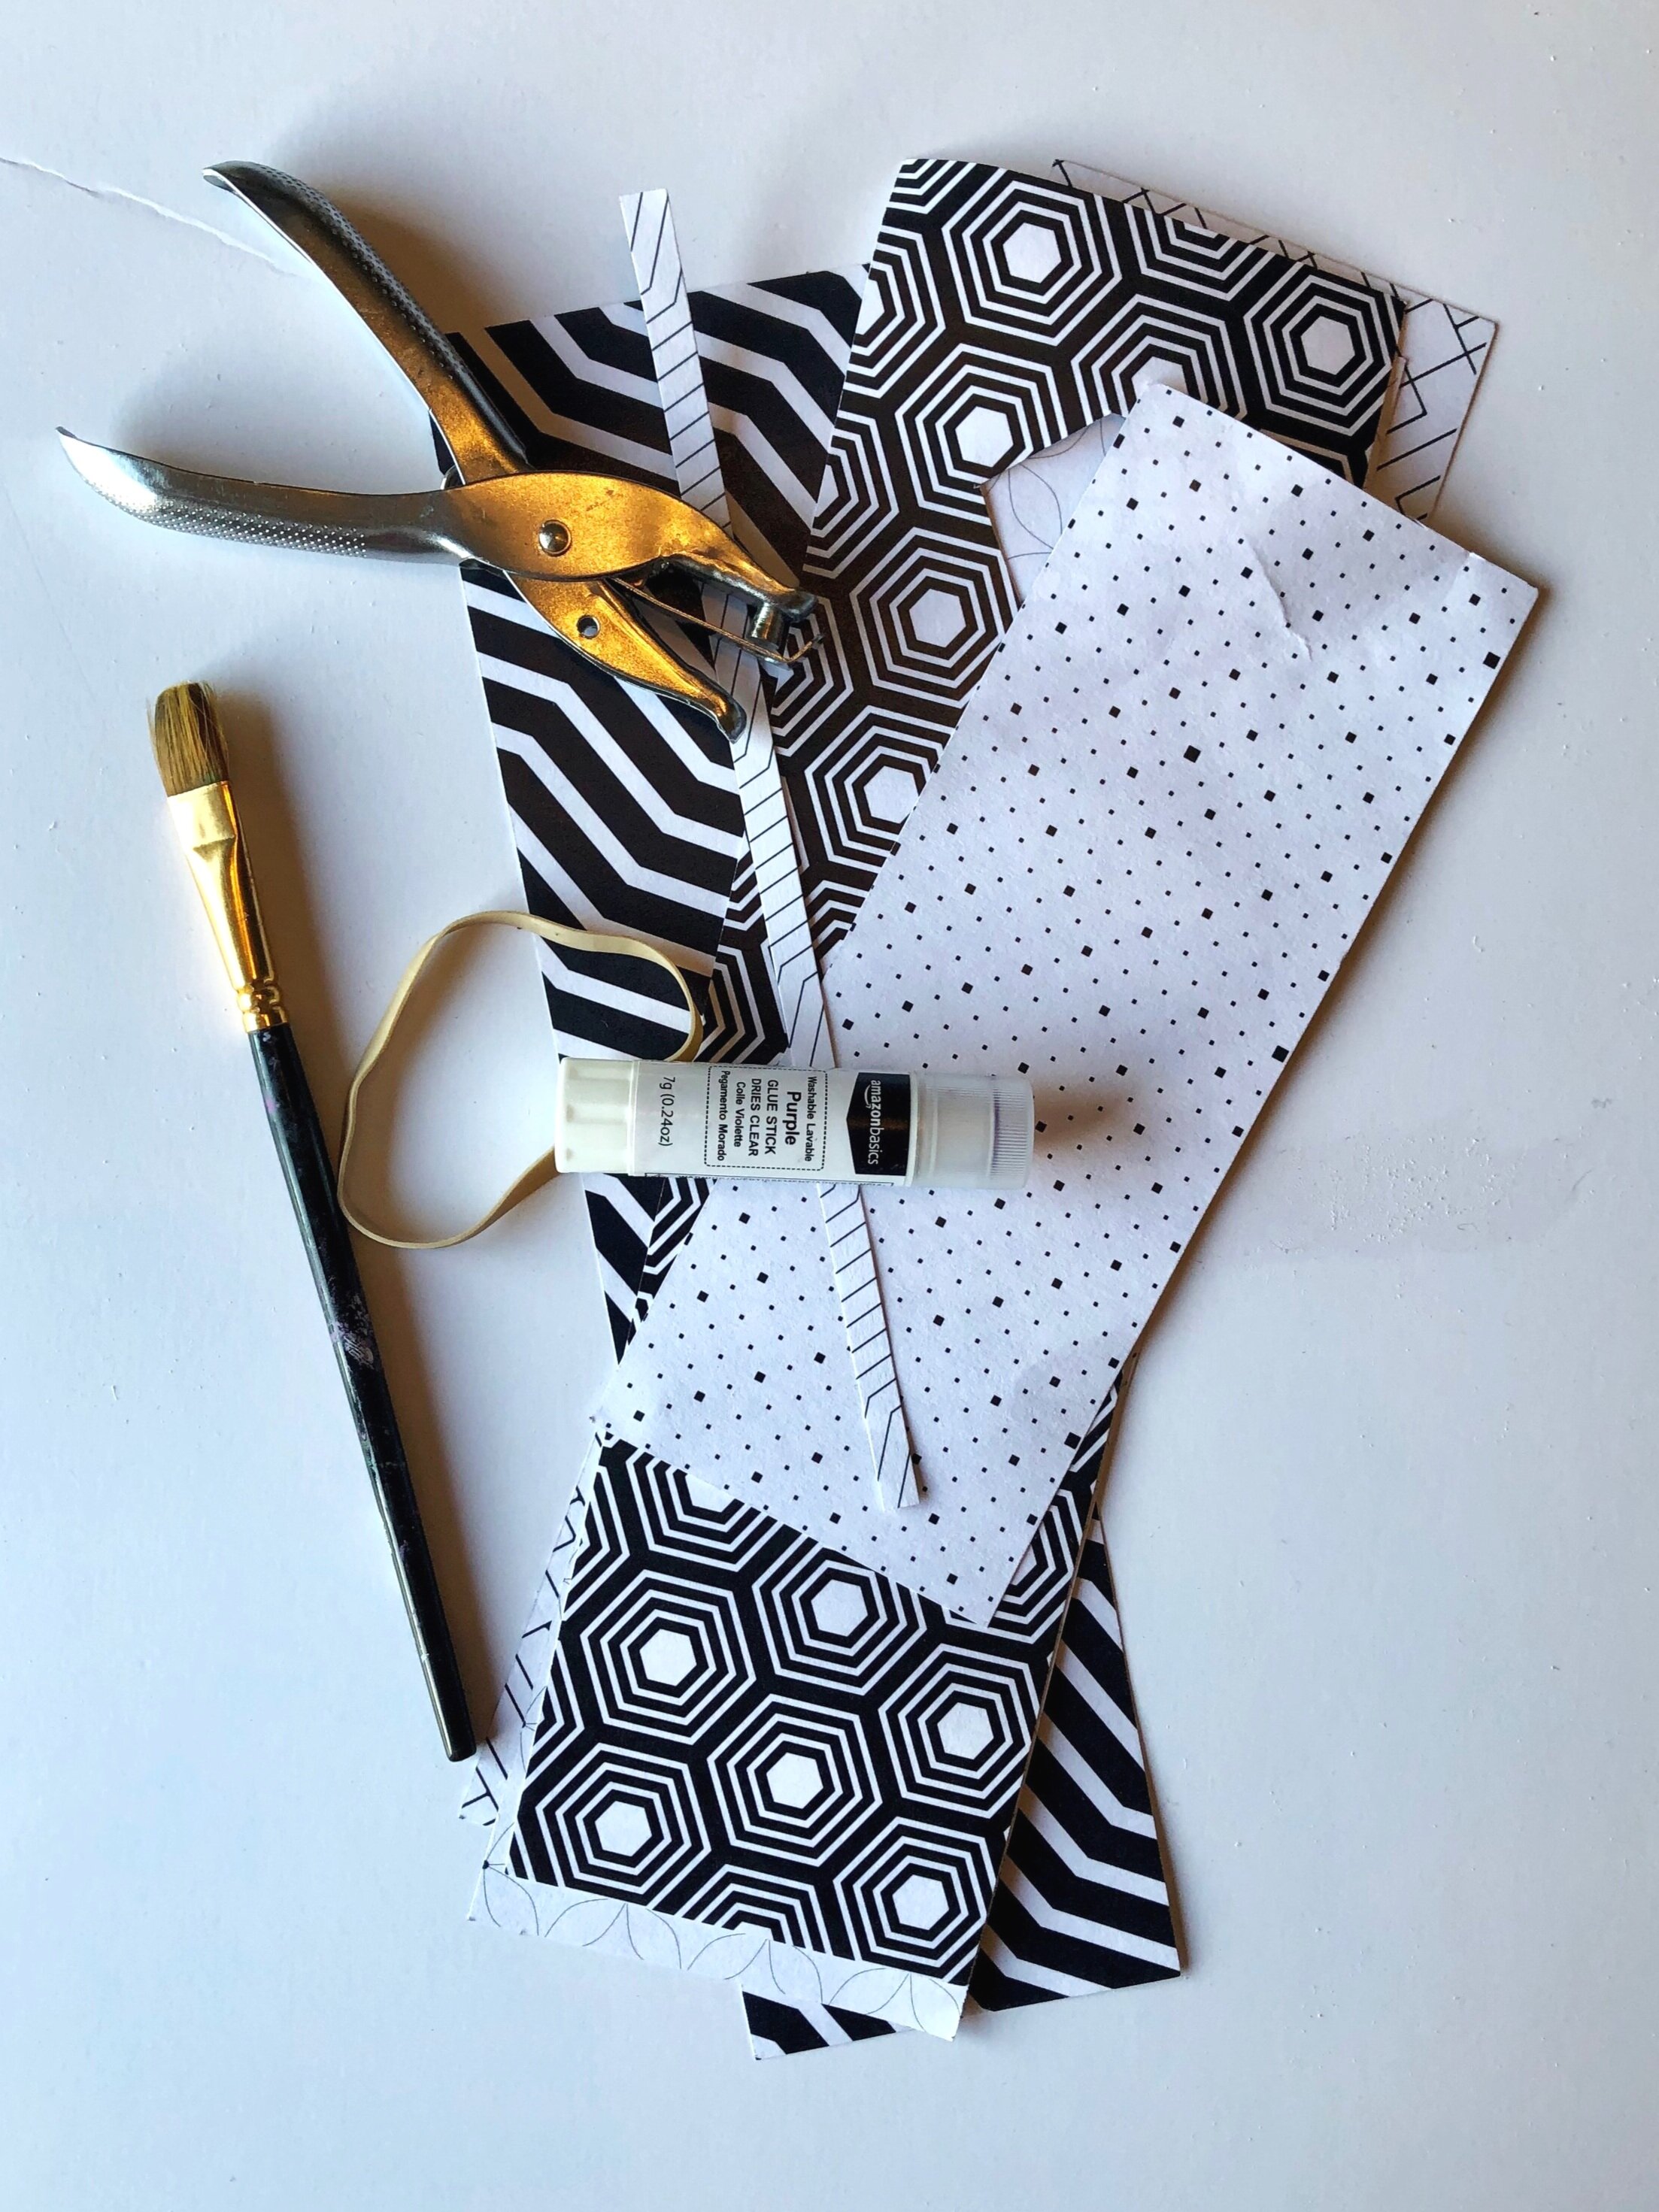
Supplies:
Paper (any kind will work—think construction paper, wallpaper samples, old drawings, watercolor paper, etc) I am using a solid paper and a patterned paper.
Scissors
Hole punch or something to create a hole in the paper
Rubber band
Old paintbrush, decorative pencil, stick, dowel, etc
Glue stick

Steps:
Gather your paper. Any size paper will work— but make sure you have at least two types and if they aren’t the same size, cut them to all the same size.
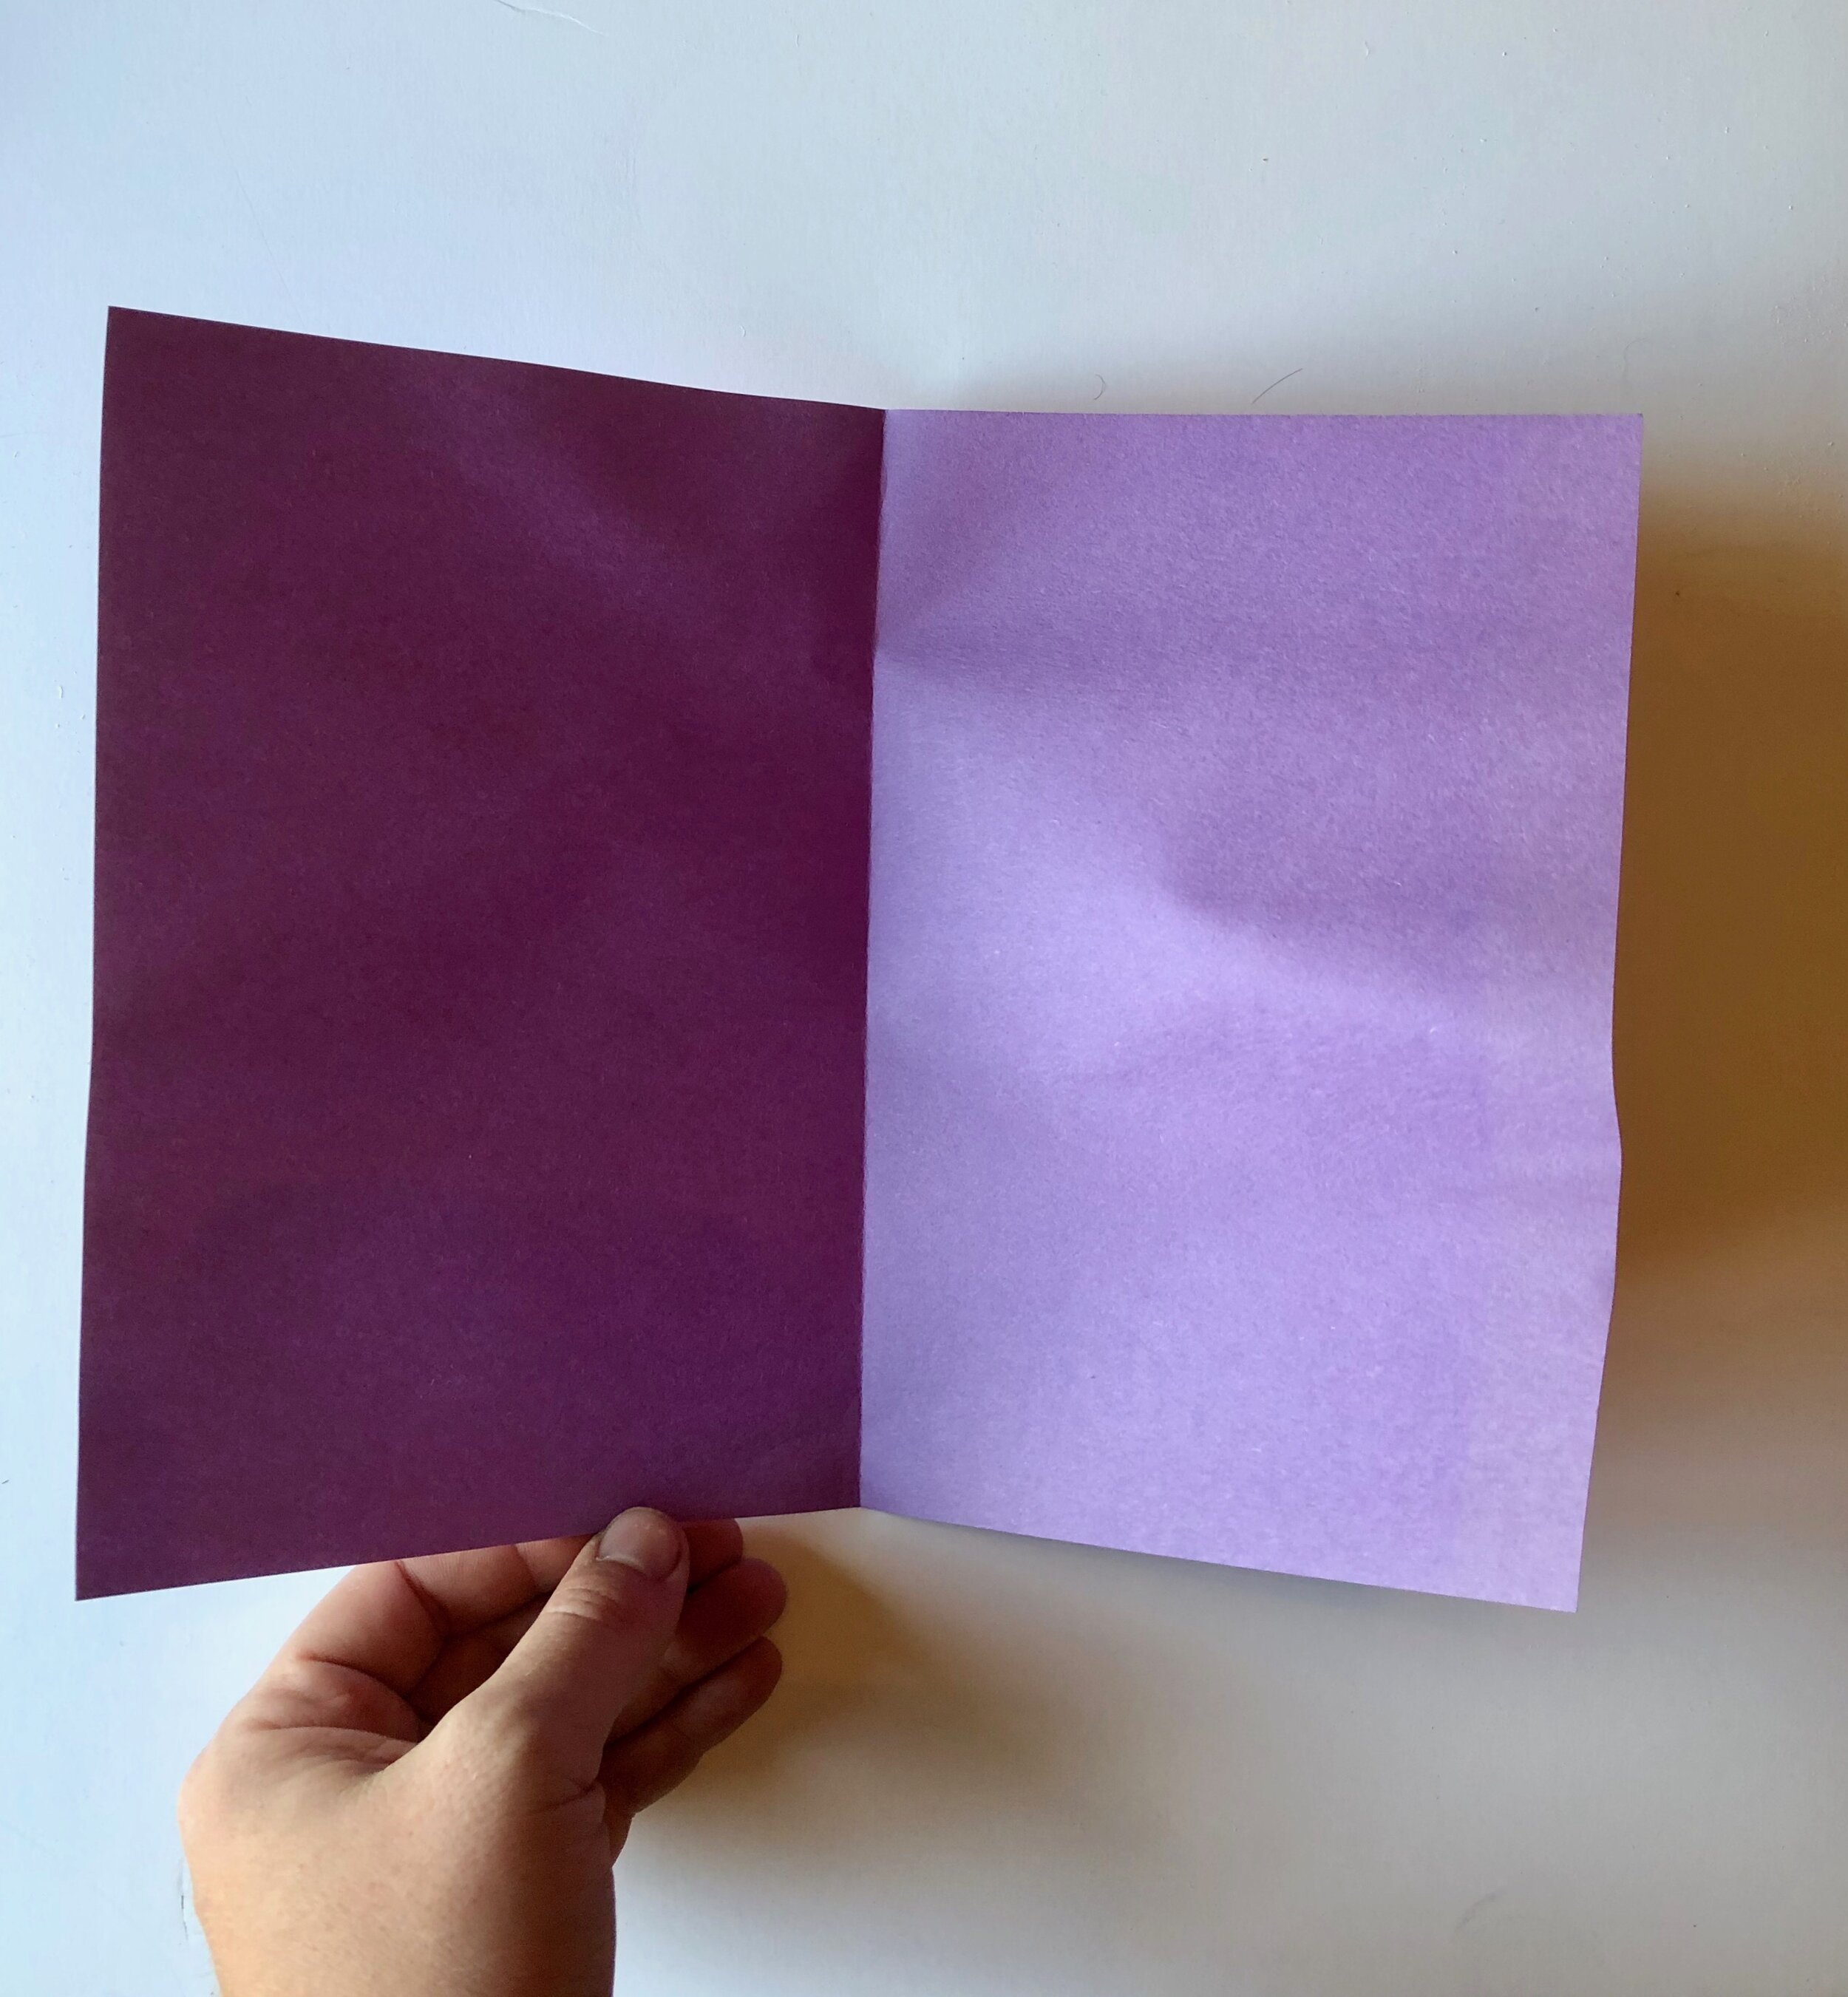
Take a sheet of paper and place it horizontally in front of you. Fold it in half (hamburger style). Do this with all the sheets of paper—make sure you get a nice, crisp fold.
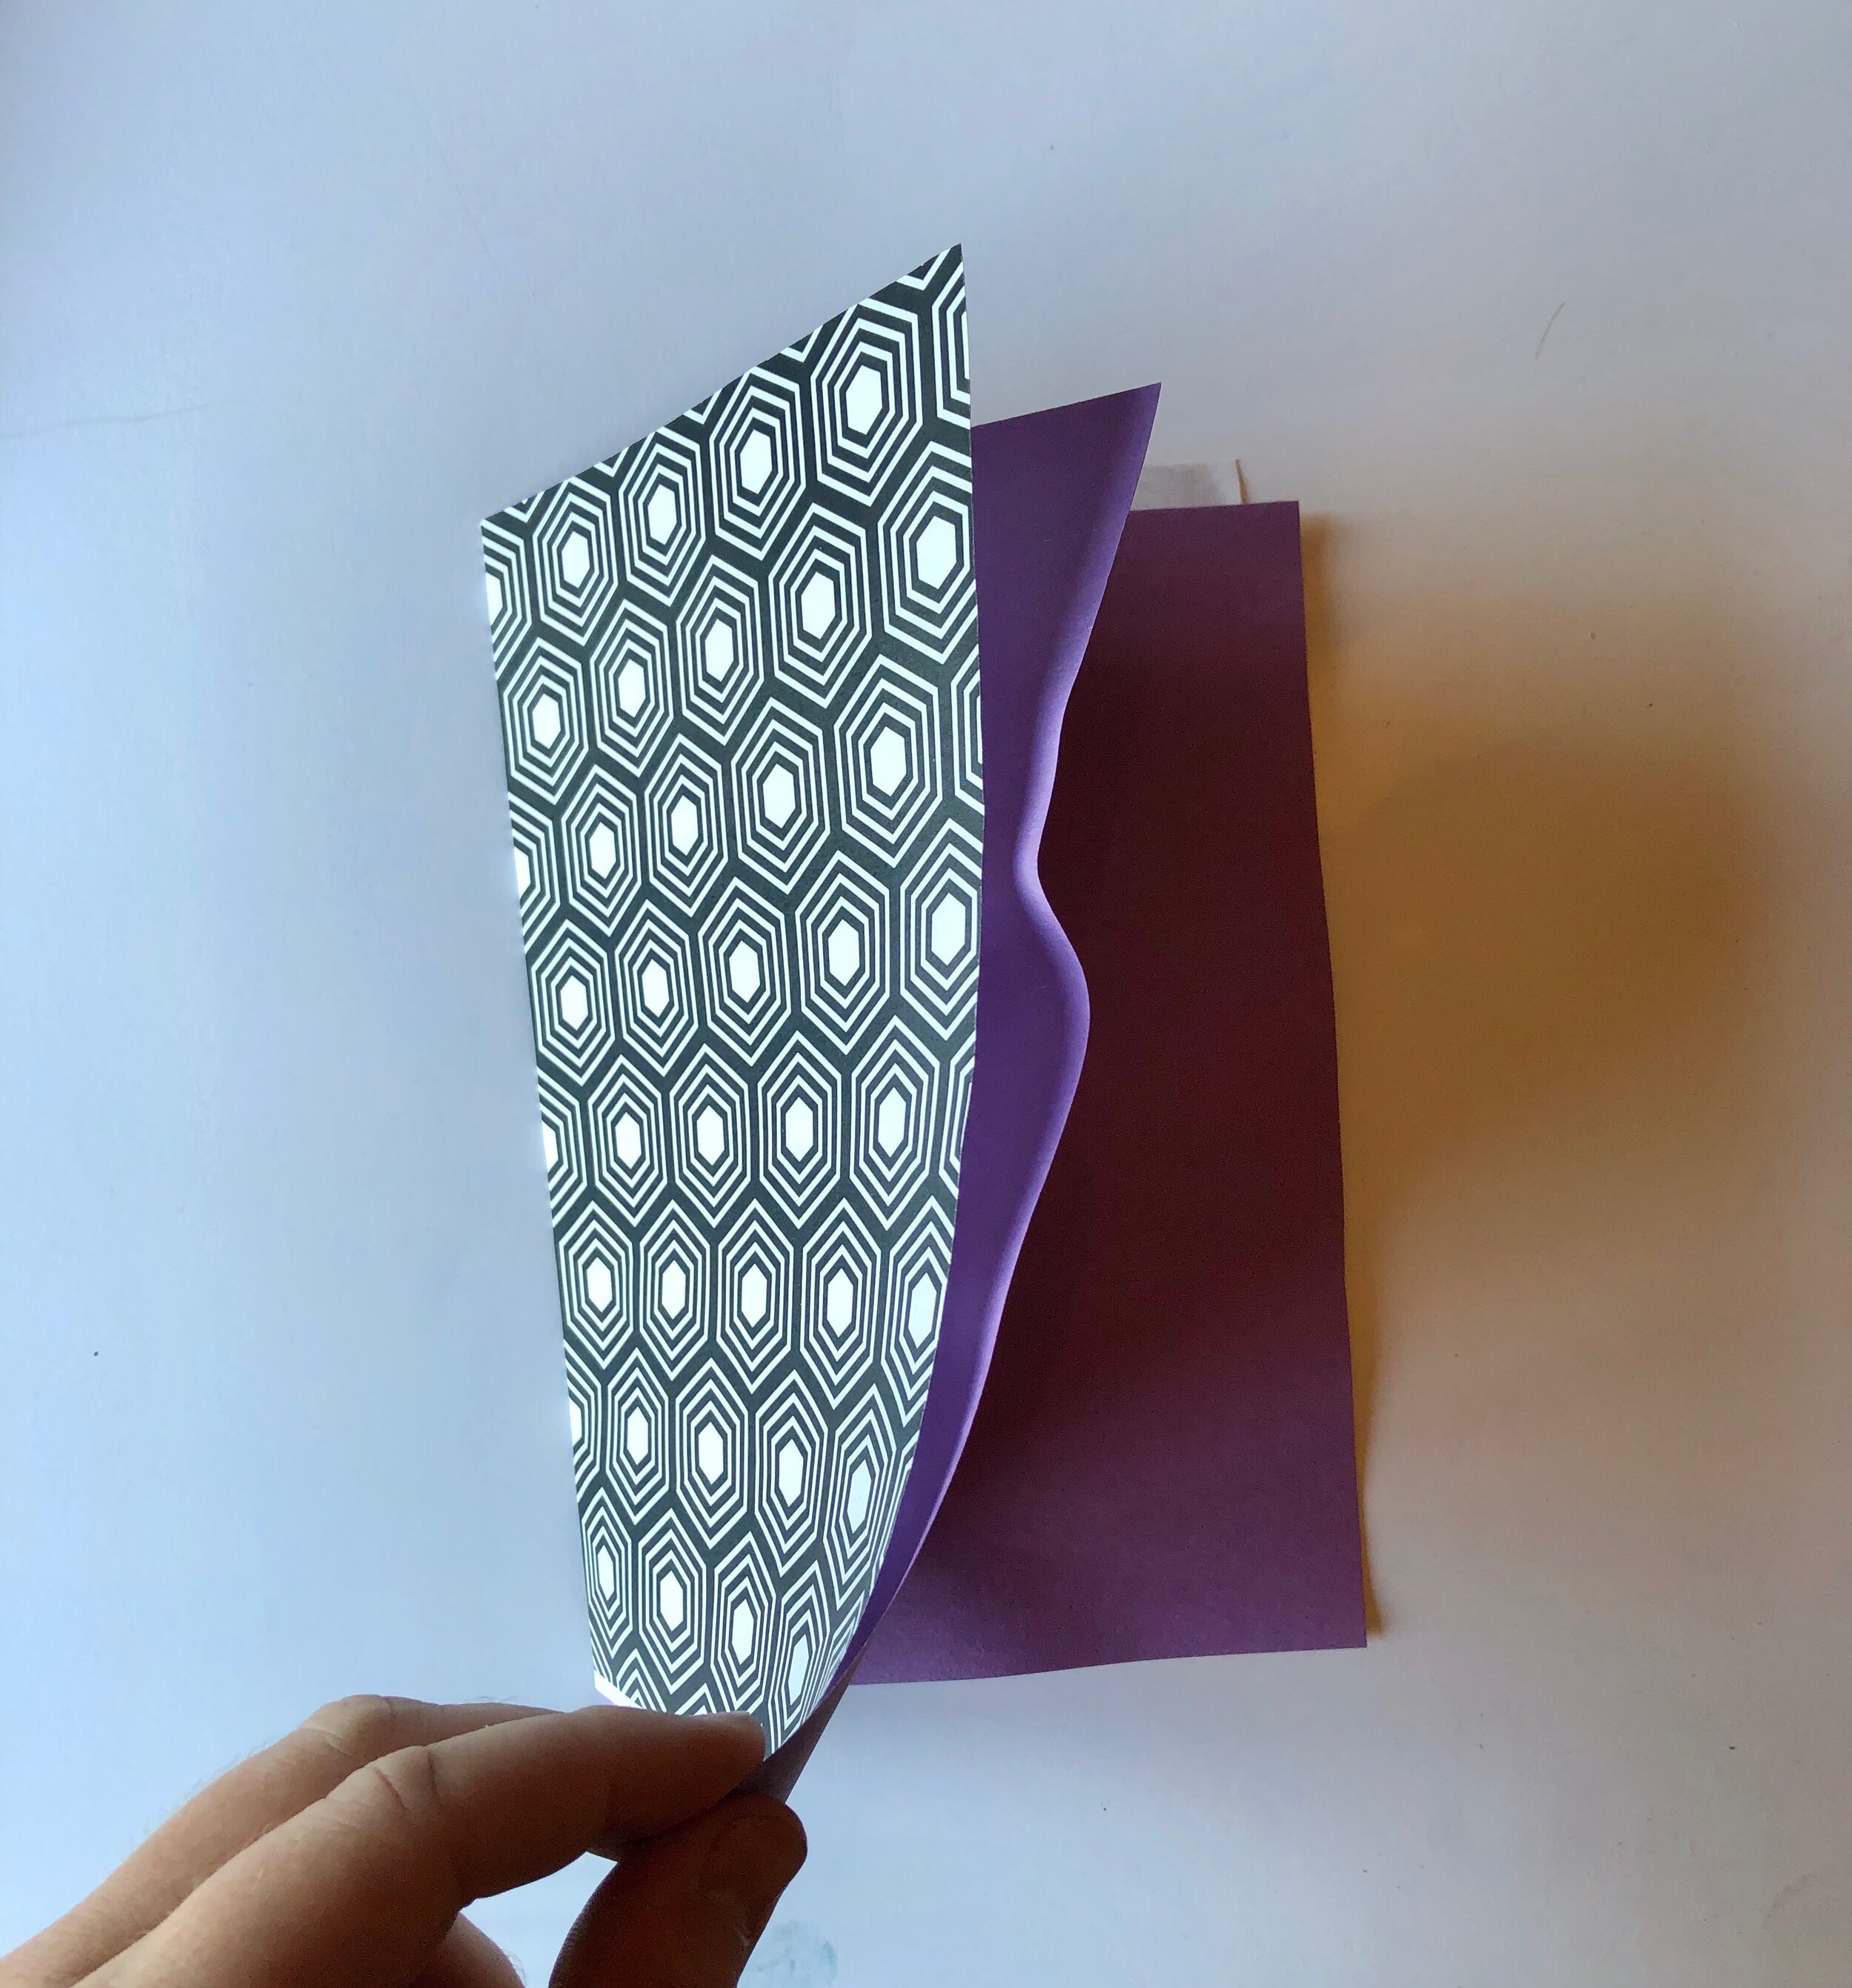
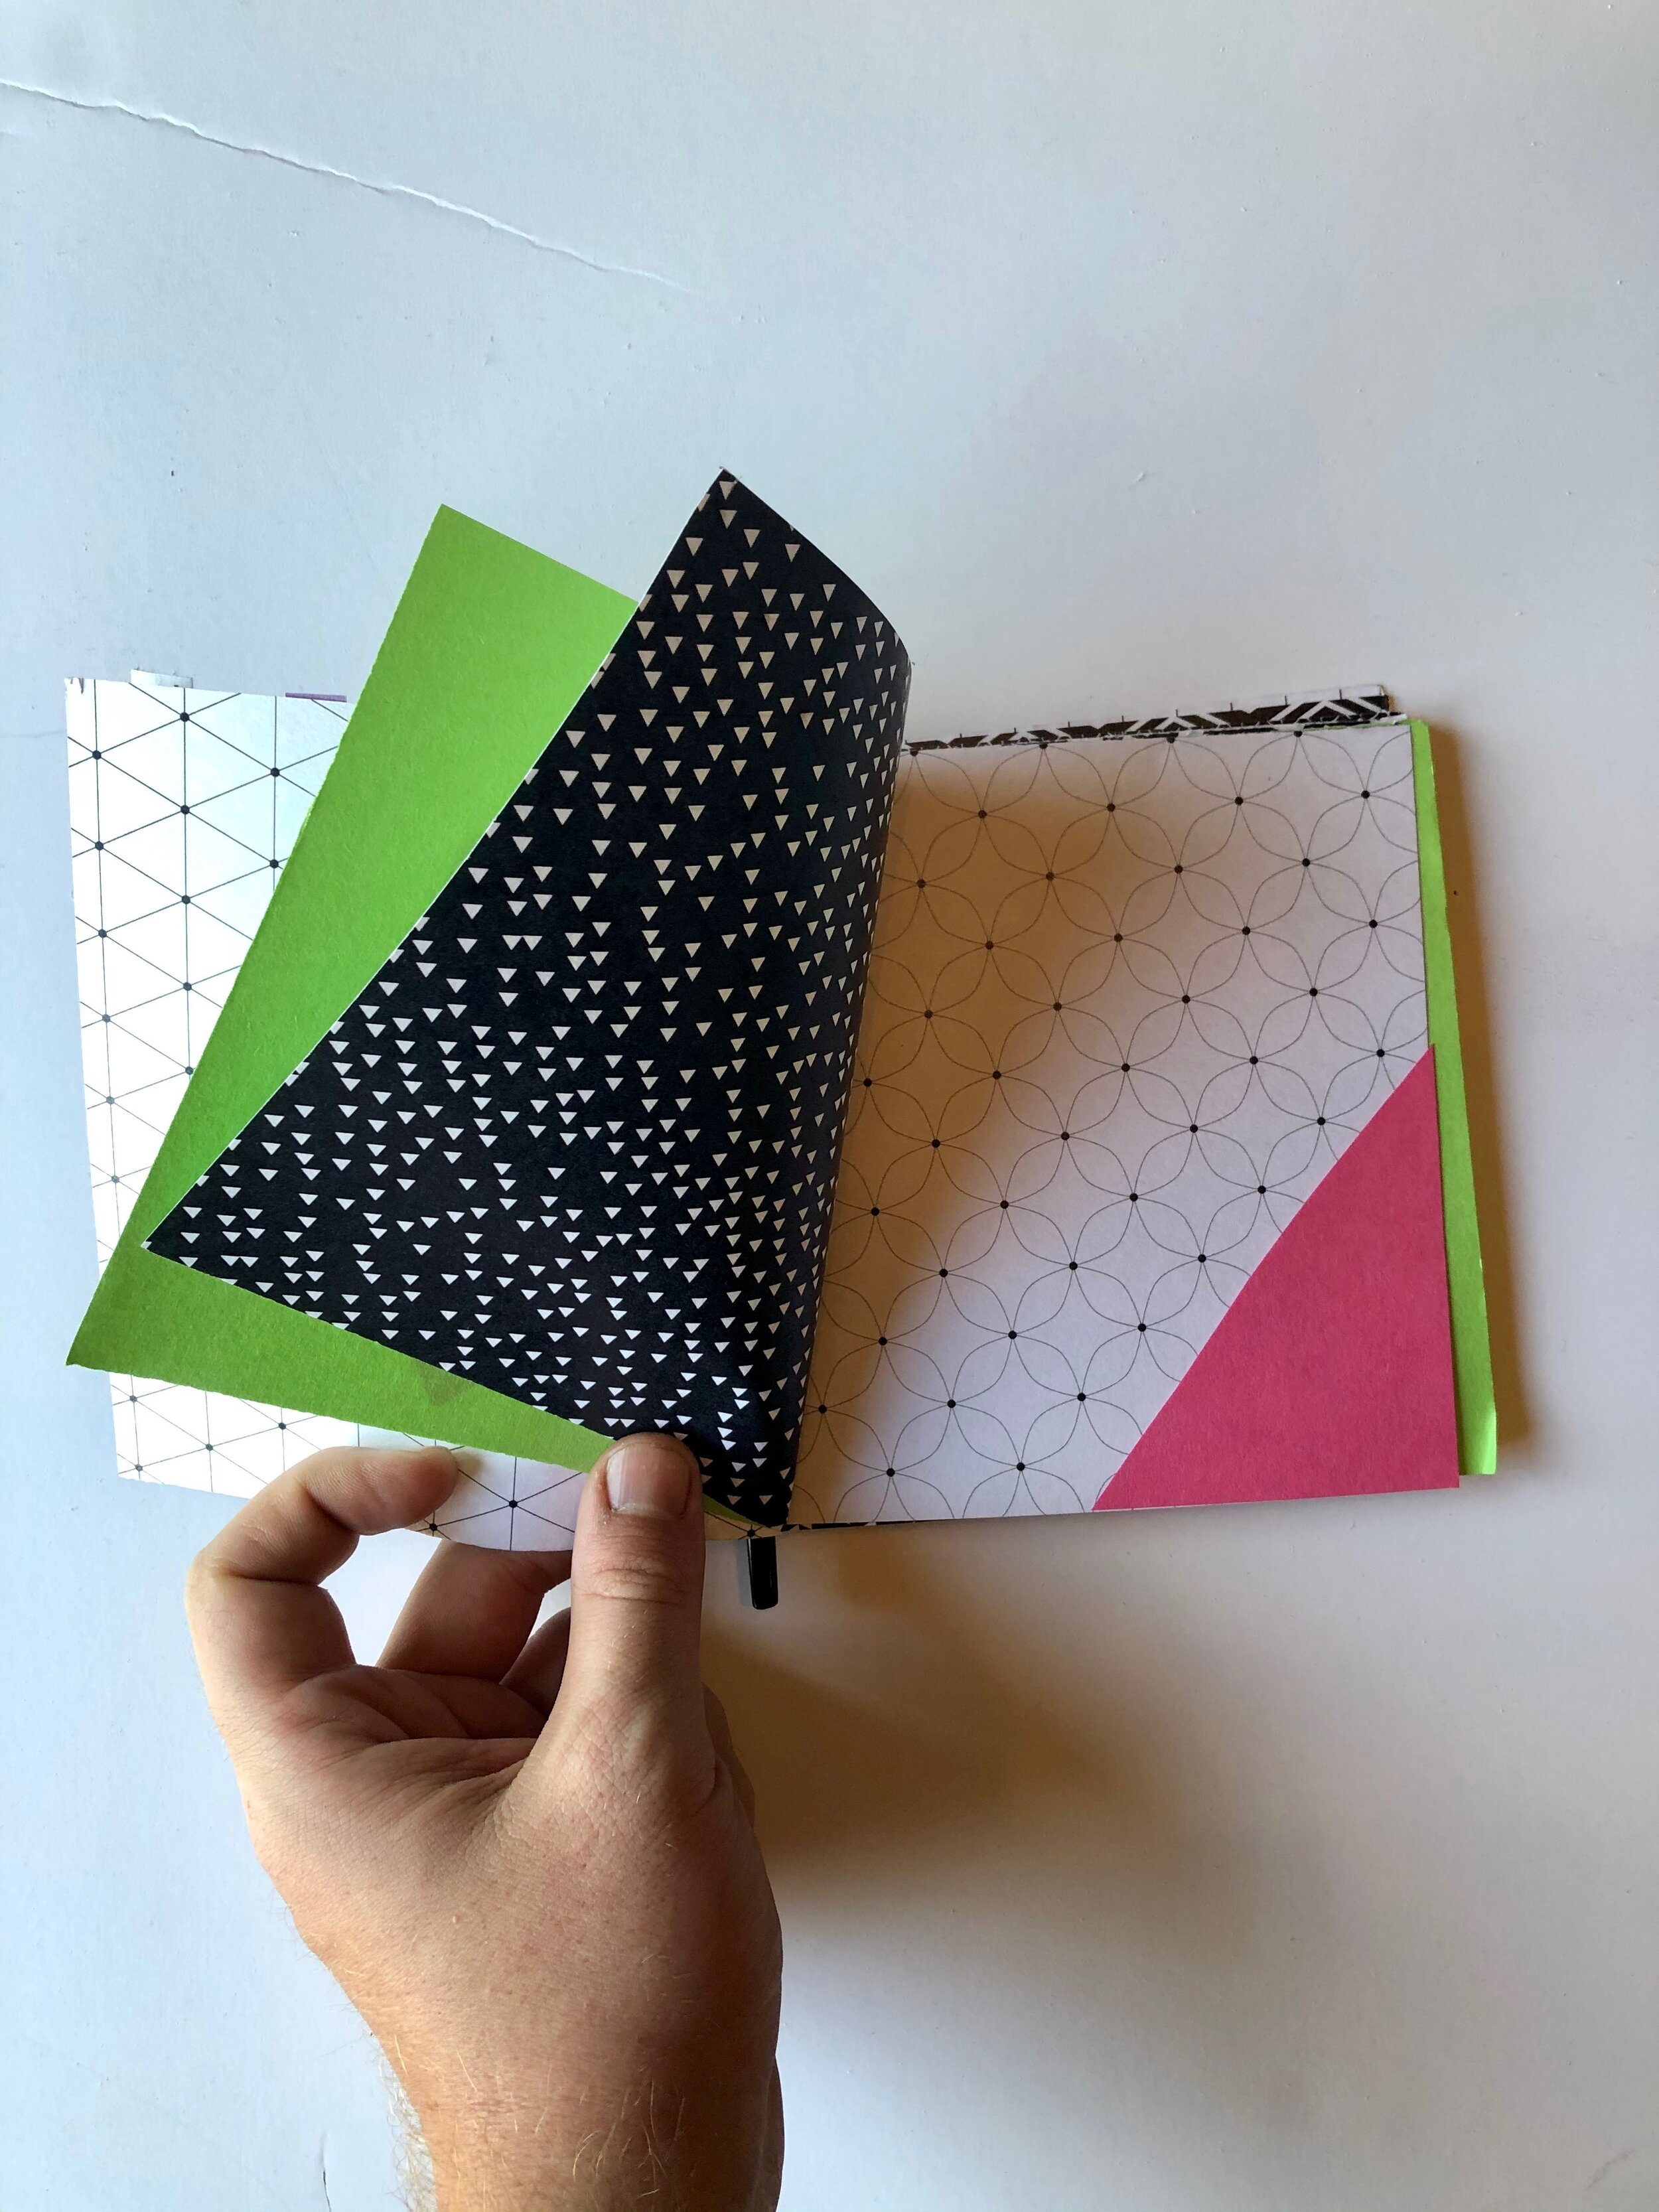
Now take one patterned paper and one solid paper. Place the solid paper inside the patterned paper. This is your first signature, or section in the book. Continue with the rest of your stack.
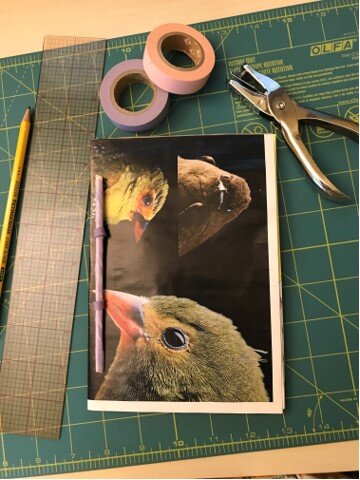
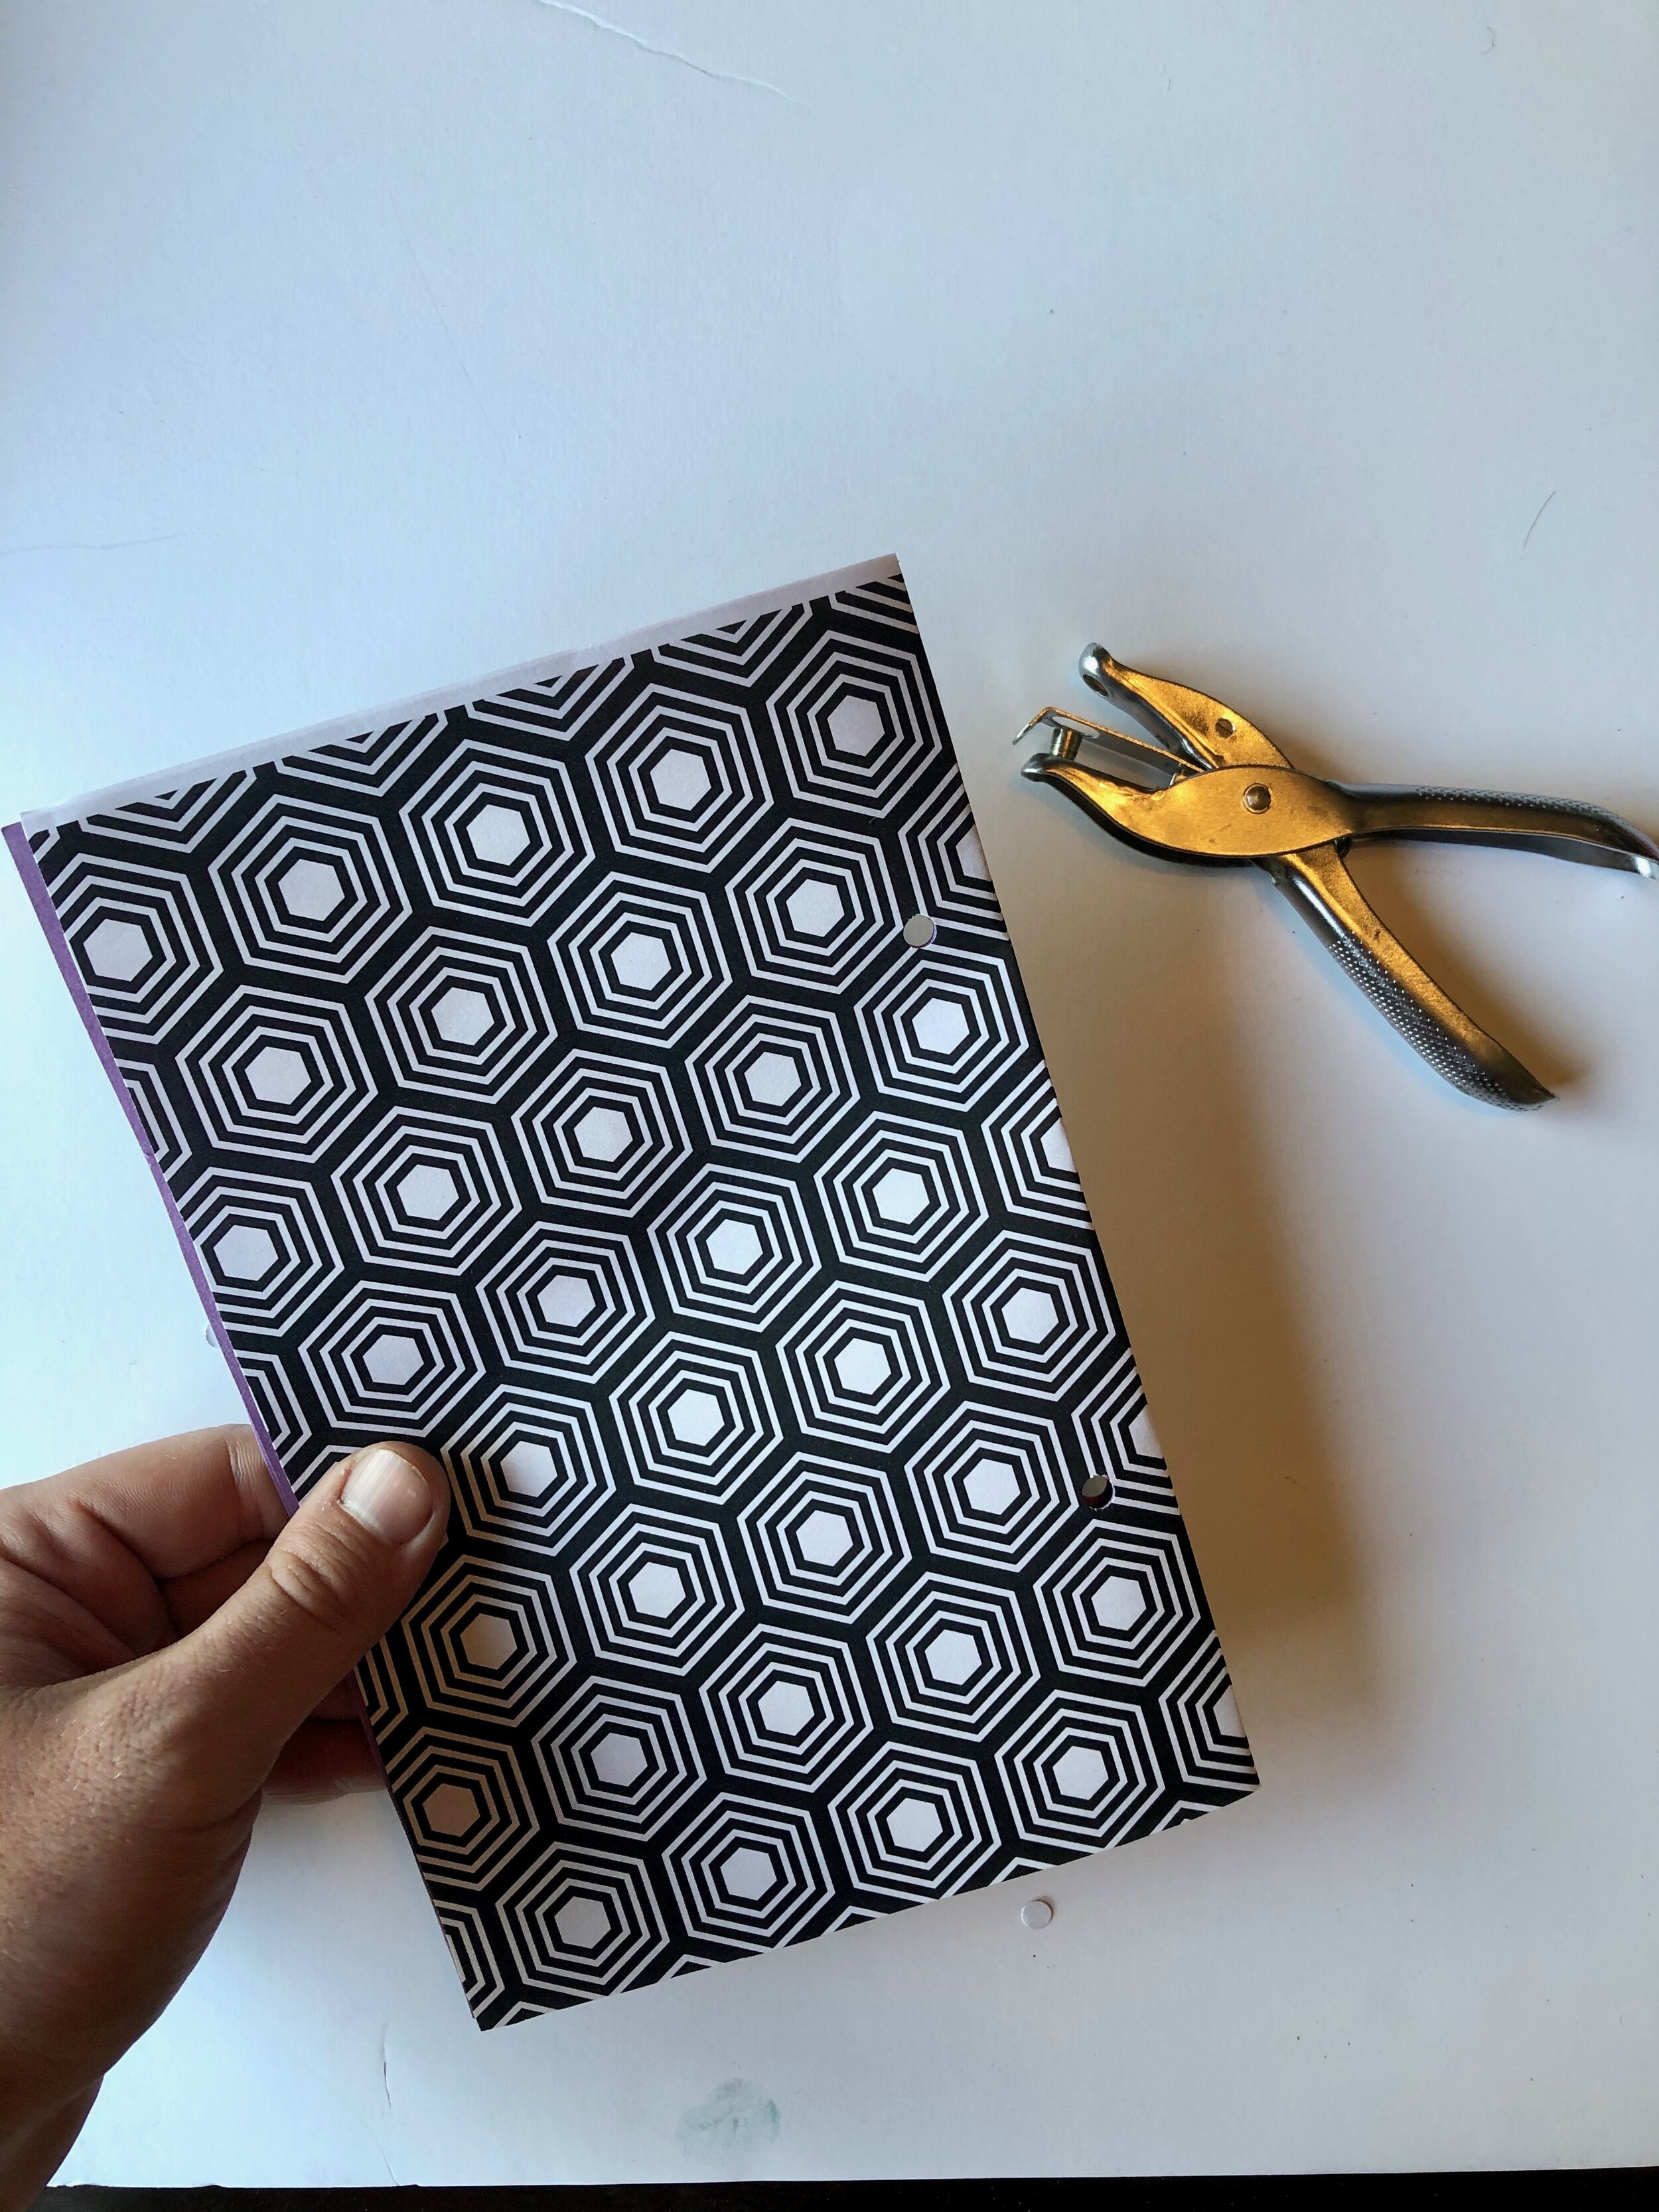
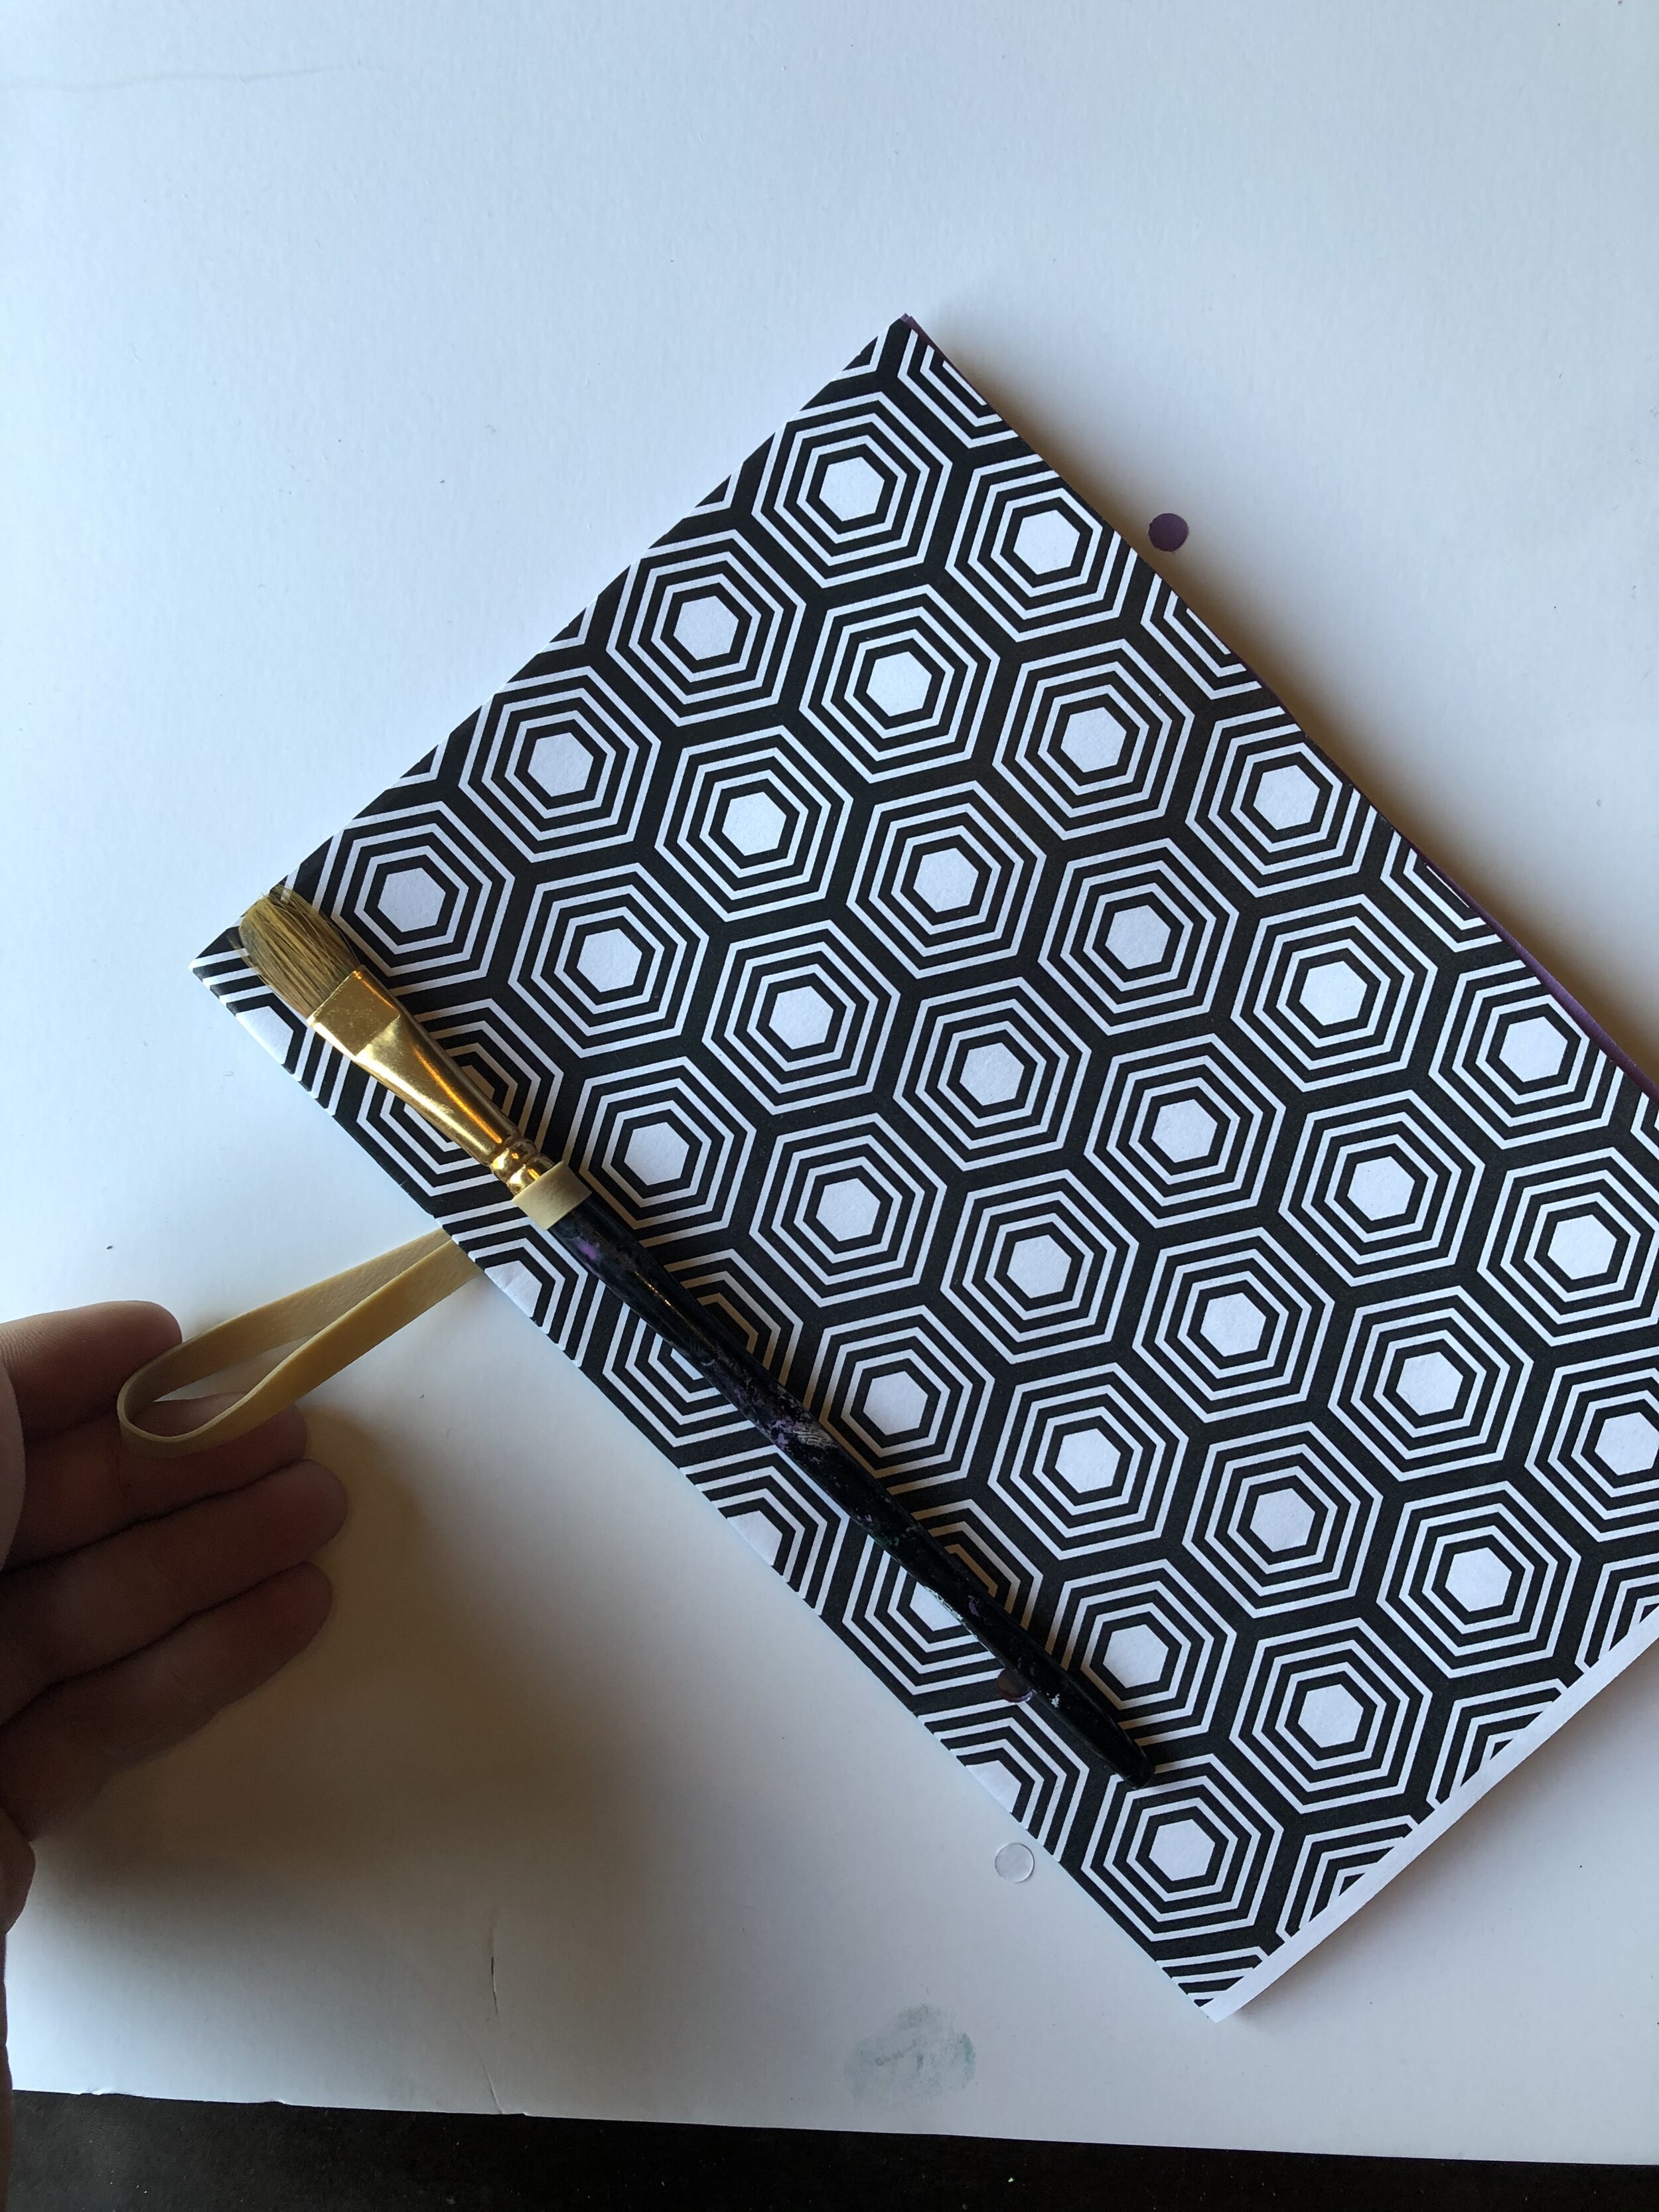
Decide what you want to be the cover of the journal and grab your hole punch. We are going to punch two holes in each signature. Look at your cover—We want the holes close to the middle with an inch or two between the two holes. Punch the holes.
Now take the next signature and use your cover as a template to punch the holes— all the holes need to be in the same location for this to work correctly.
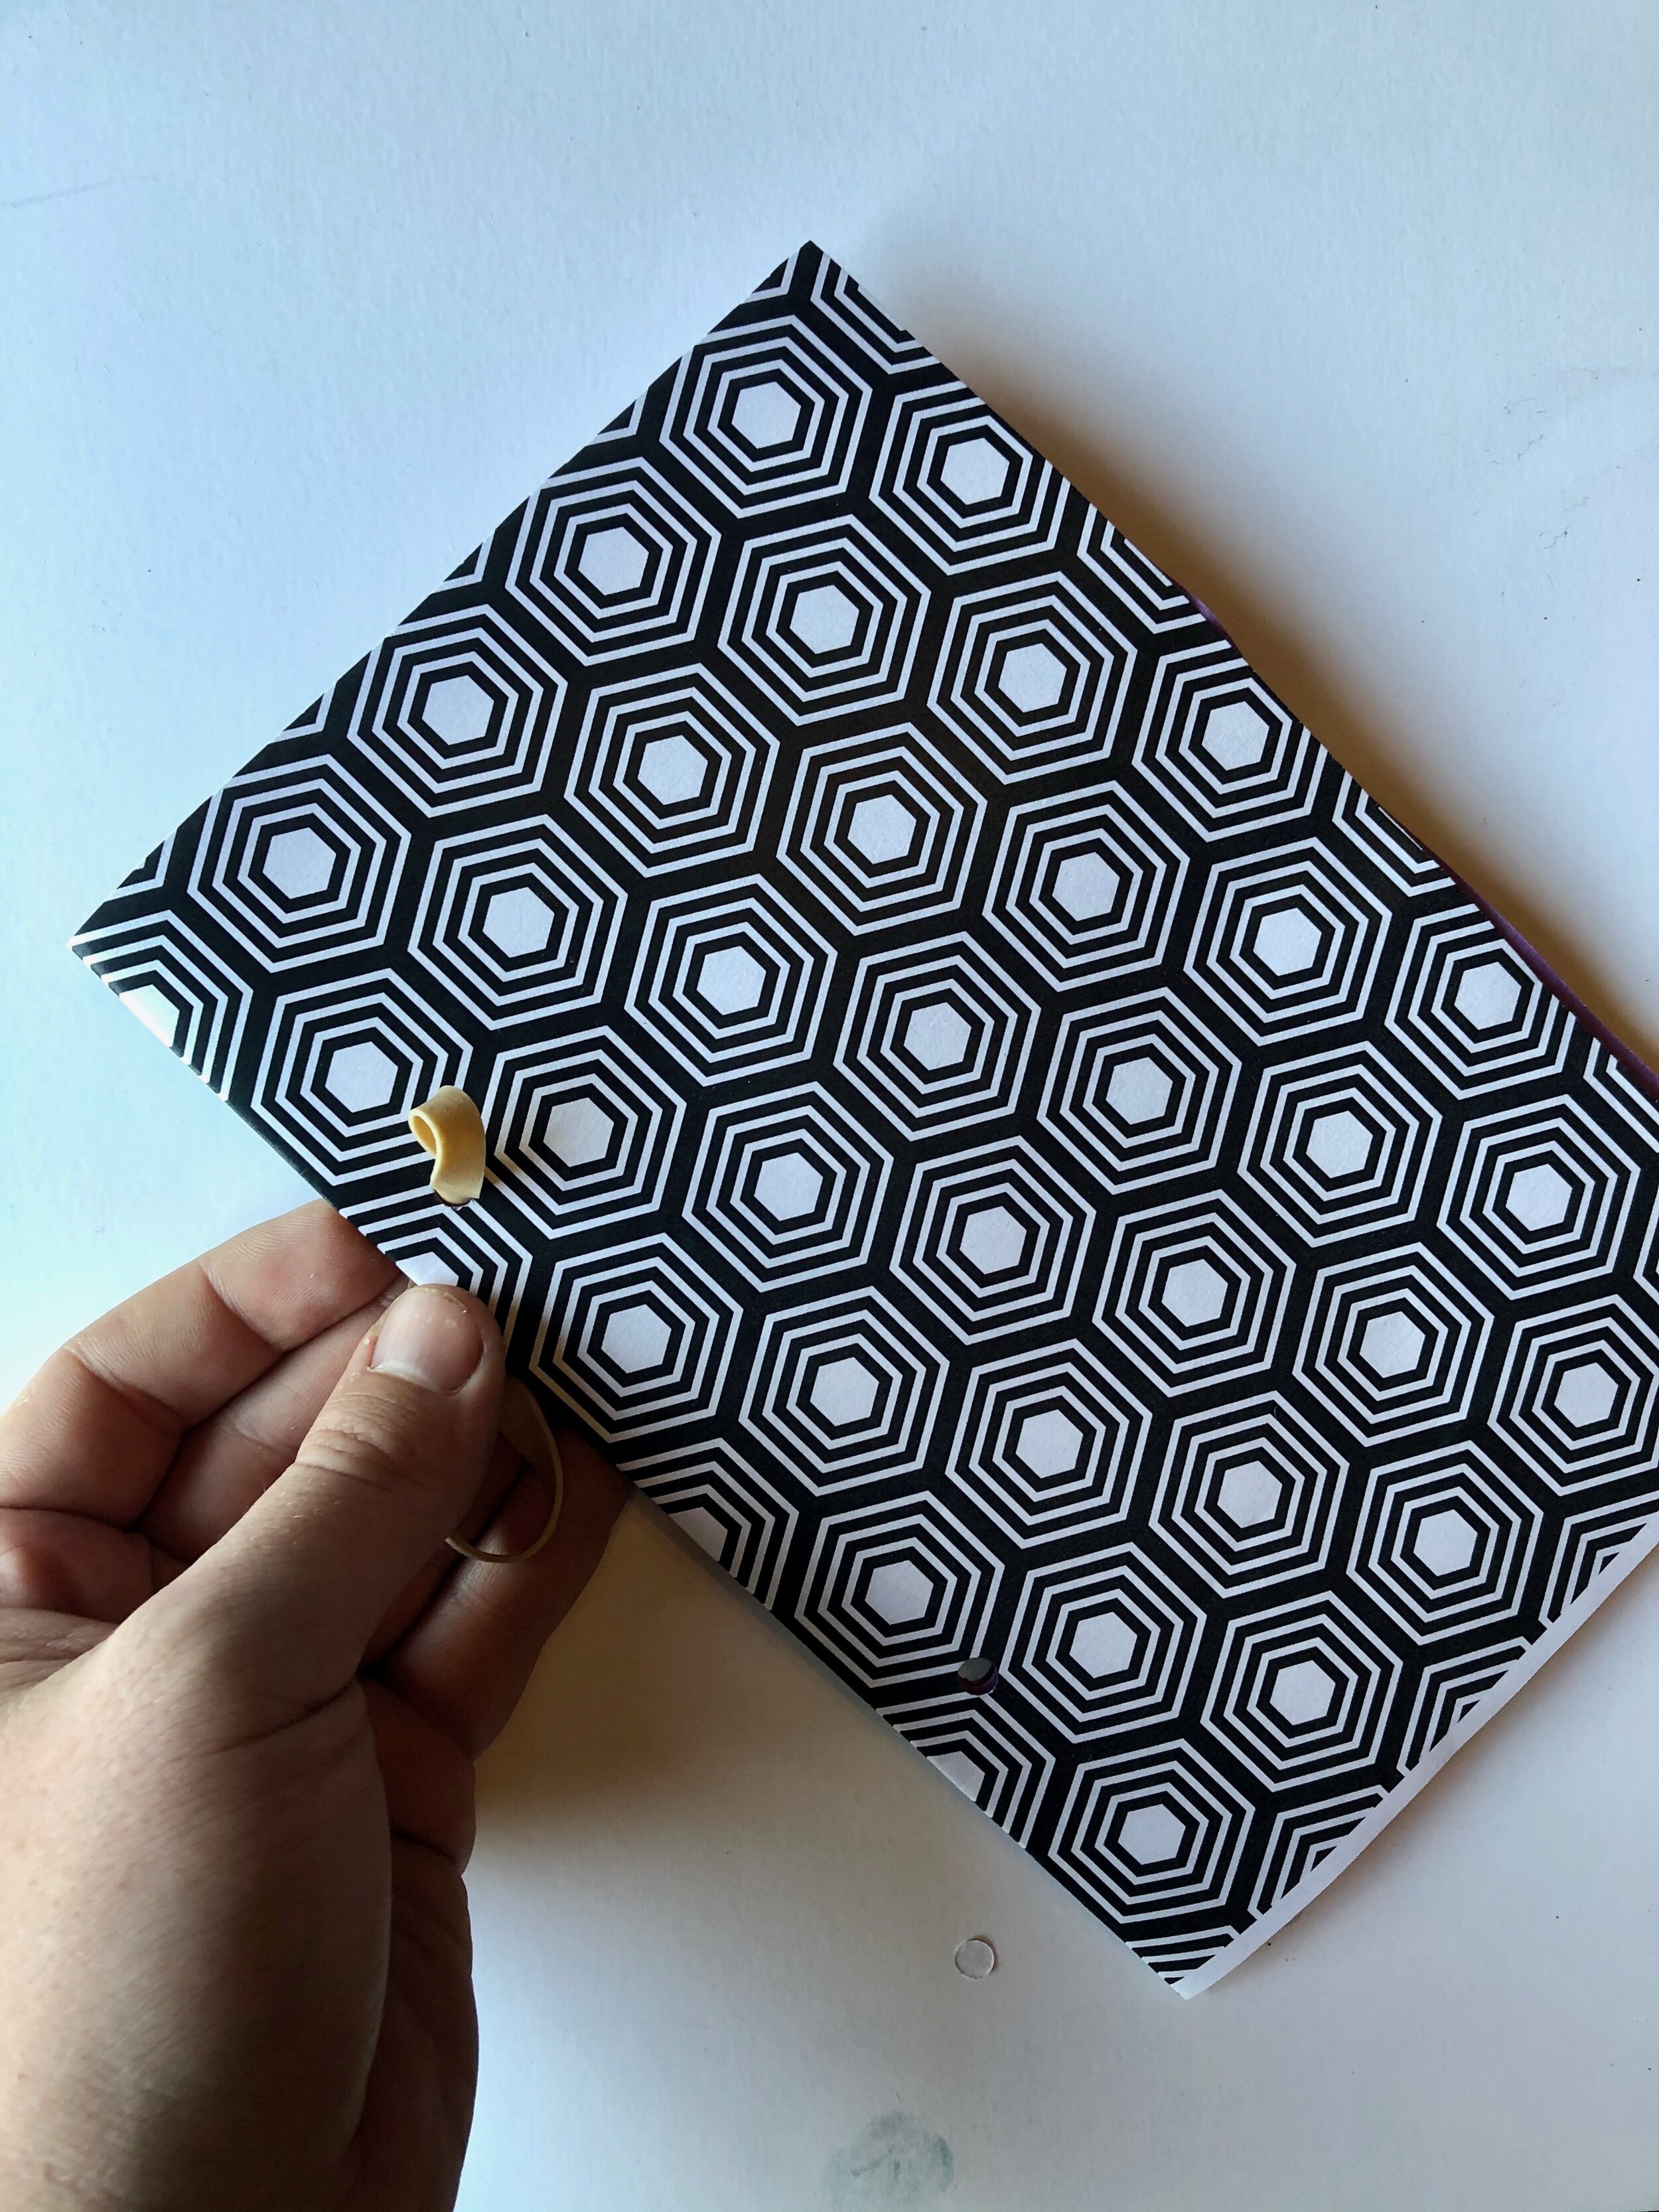
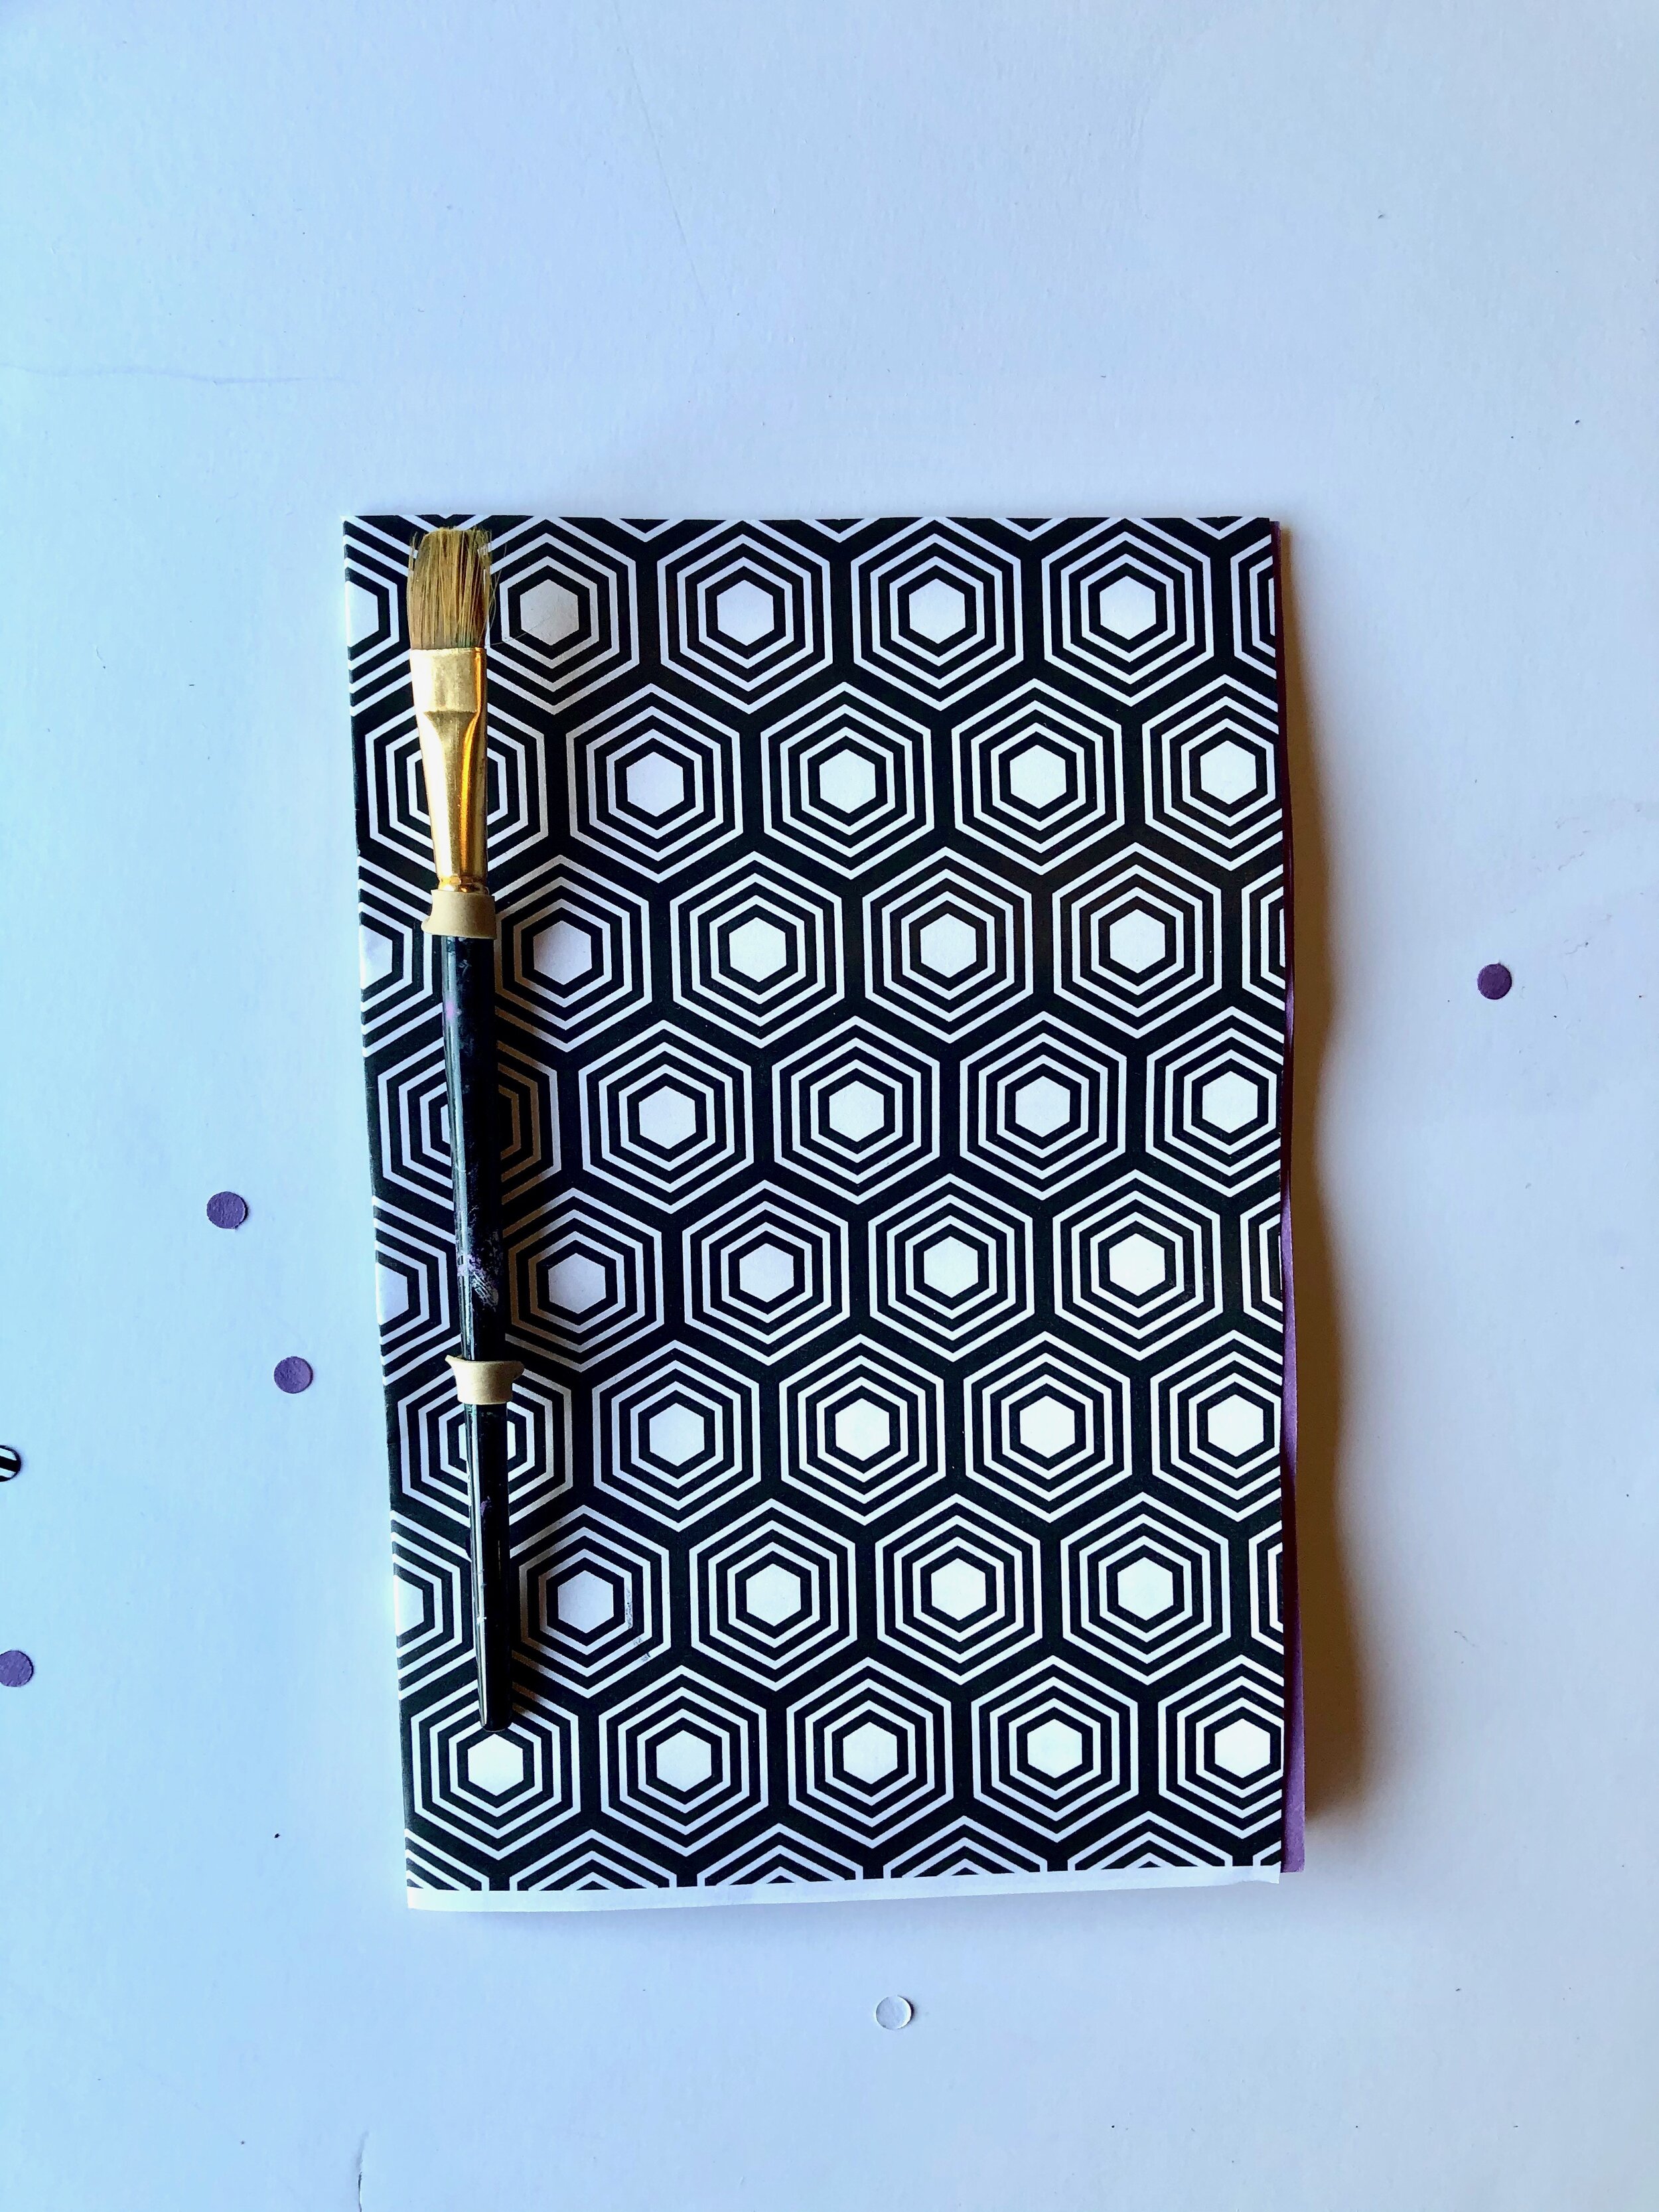
Once you are finished punching the holes, stack all your signatures so they line up. Grab your rubber band. Start from the bottom signature and work your rubber band through all the holes. Once you get to the cover, grab your paintbrush or dowel and put it through the rubber band loop and pull it tight. Do the same to the top set of holes, and loop the rubber band to the top of the dowel or paintbrush. Now all your pages are connected!

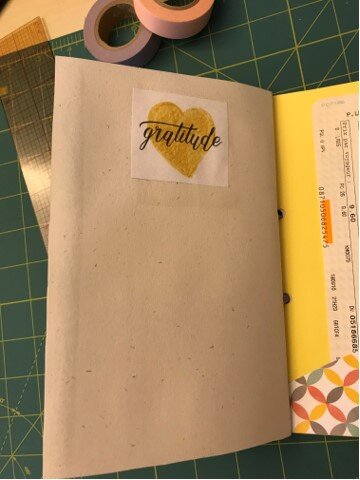
The nice thing about this journal is that if you run out of pages you can always add more to the book—simply undo the rubber band and add more pages follow the steps. Now that your book is bound, you can embellish your cover with collage elements, or create pockets to put things you may find on your adventures.
Share what you created
Tag us with a photo @lsumoa on social media or email us a photo below!